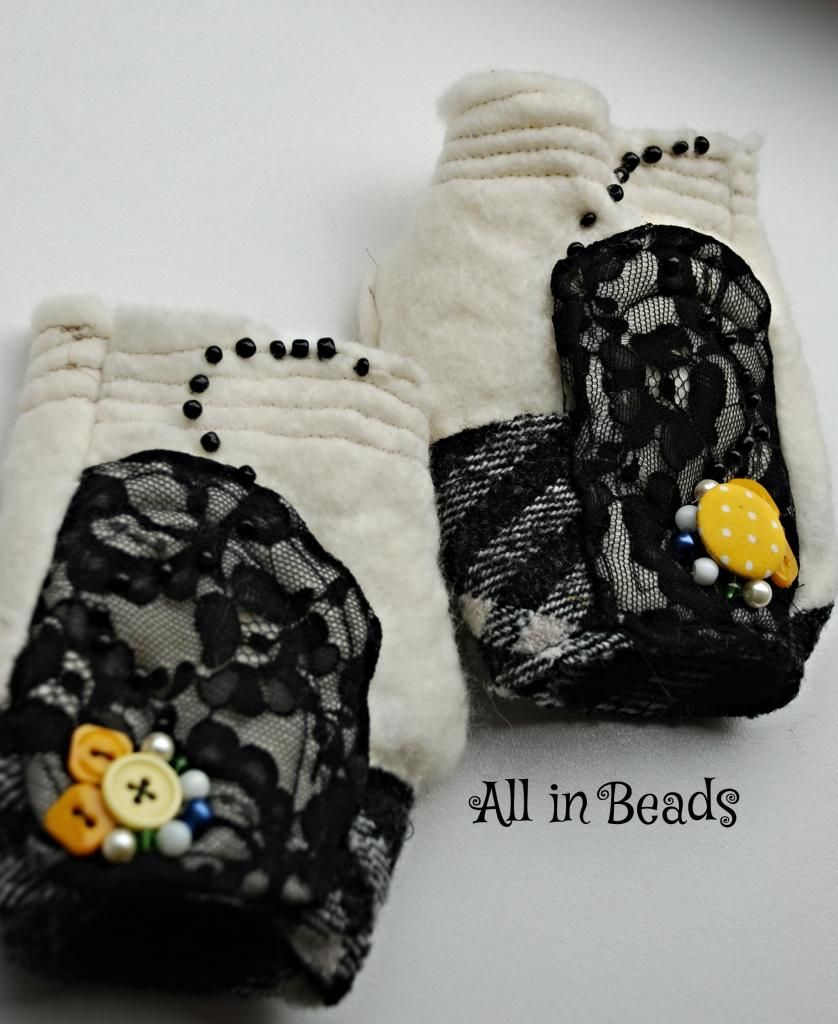
I have been trying my hand at felting slippers, I have looked at some pictures, and tried to do it- it is quite hard, especially to make them the same size. However, I will eventually somehow (maybe) master- have a lot of felt in my stash- I need to use it. I am thinking about a sauna cap as well.That could be a good practice and to decorate it in a crazy way.
My orange and pink delights ;)

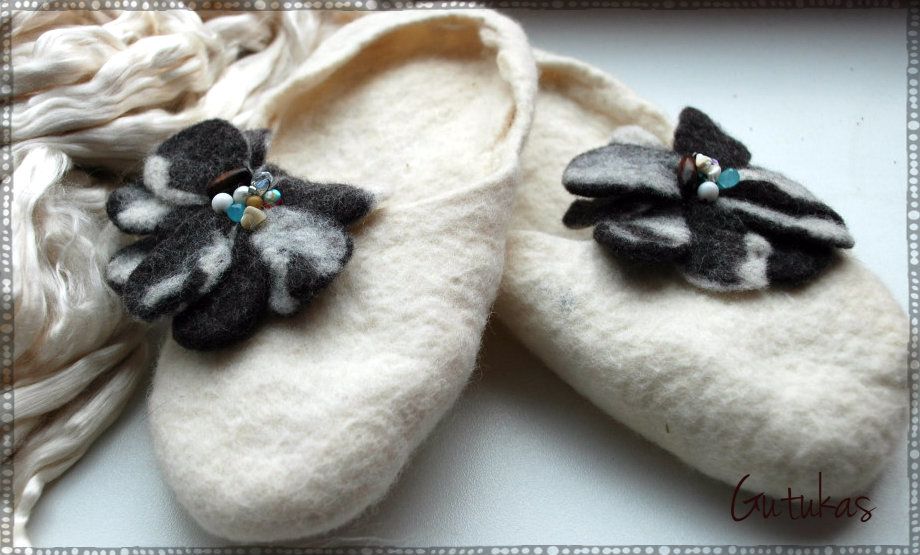
And the other pair is felted star flowers (my son told me to name like that)
I could show a little tutorial, how personally I do it:
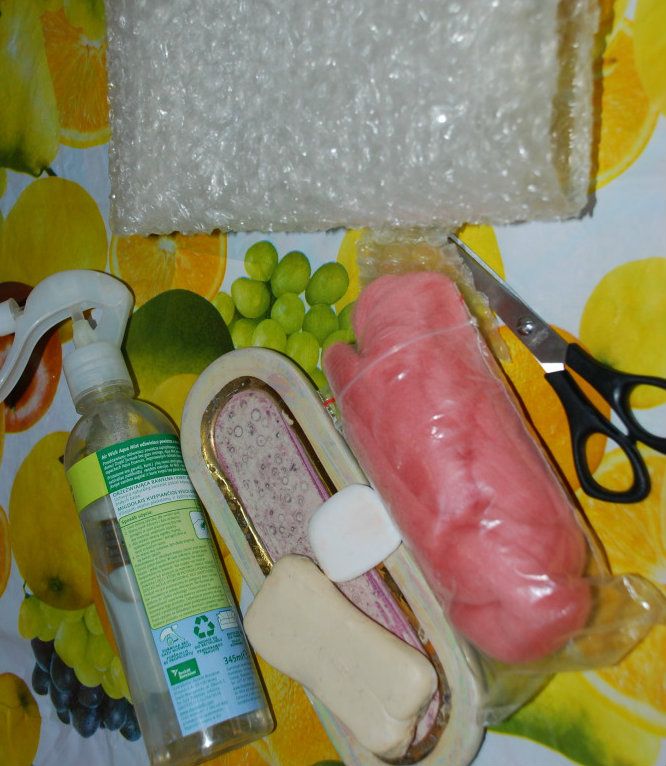
You need ;)
- a covered space, water-proof one
- some felt
- a foot pattern/template (bigger than your real size by about 40-50 per cent)
- water spray (hot water)
- soap
- a bubble thing for better felting
The process:
Take all the things (I put them on the bathroom floor).
Take the template and place it on the mat
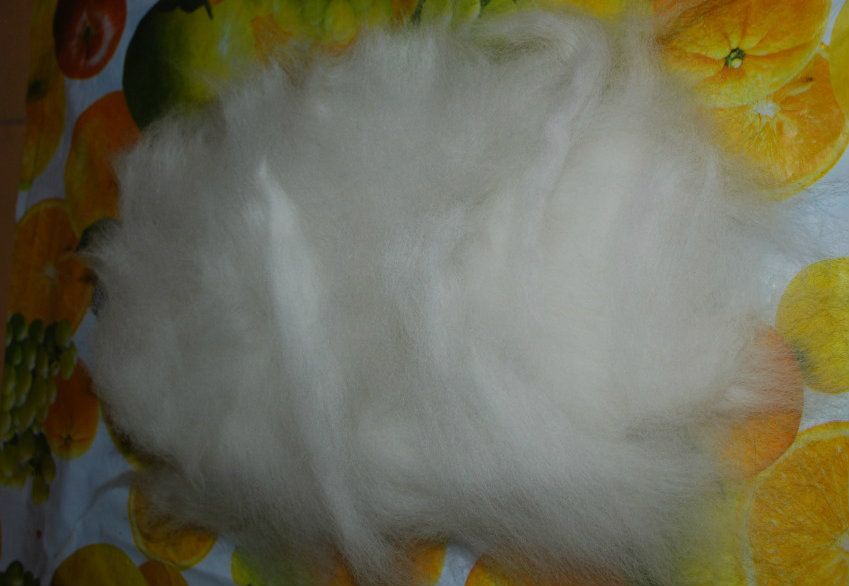
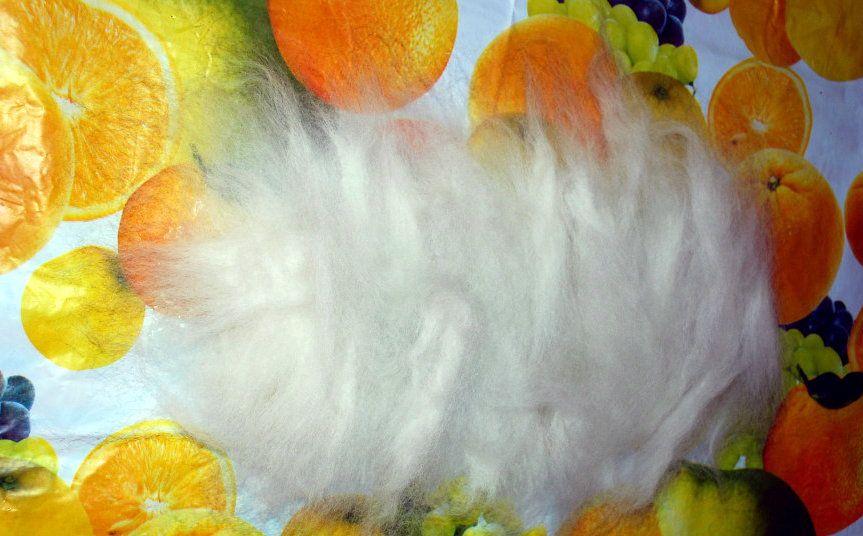
Place the felt on top, thinly,
four layers (more can be added for extra durabiity), vertically and horisontaly on top of each other.
Put all the layers, oh what a heap it is, and
gently pat.
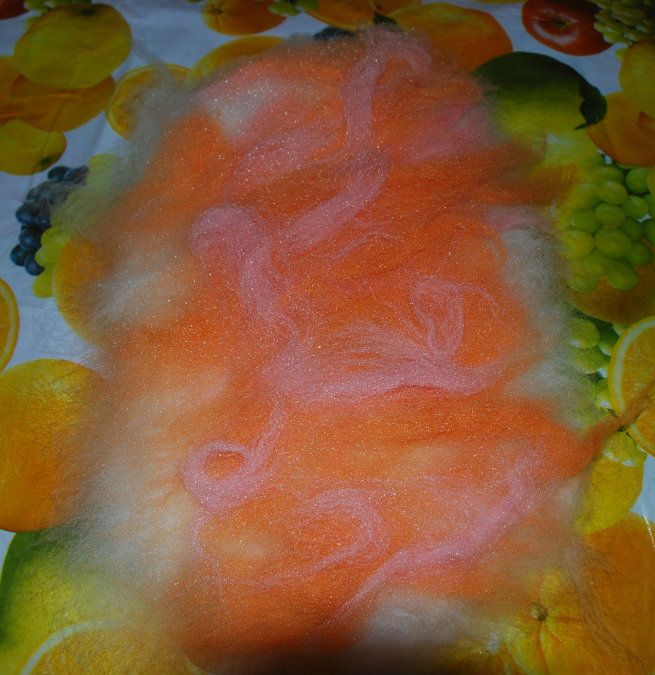
Put the coloured side (optional)
Wet everything with a spray and pat pat gently.
Fold the corners, repeat the same procedure for the other side. Fold the corners.
It is something like this
And
felt felt felt and massage very well. Wet in very hot water, then cut a little hole, and turn inside out- this is for better looks, and felt more. Here is the initial piece :) That is what you get, place when finished soemwhere to dry.

 |
| For those cod days |
 |
| Or snowy days |
Have a nice felting.
G.
PS The most interesting part is decorating with beads :)