Showing posts with label green. Show all posts

Tuesday, September 23, 2014

Some pieces

HI hello I haven't been beading much I have new dog it has taken a lot of time ;)
Near our house in a chesnut avenue :)

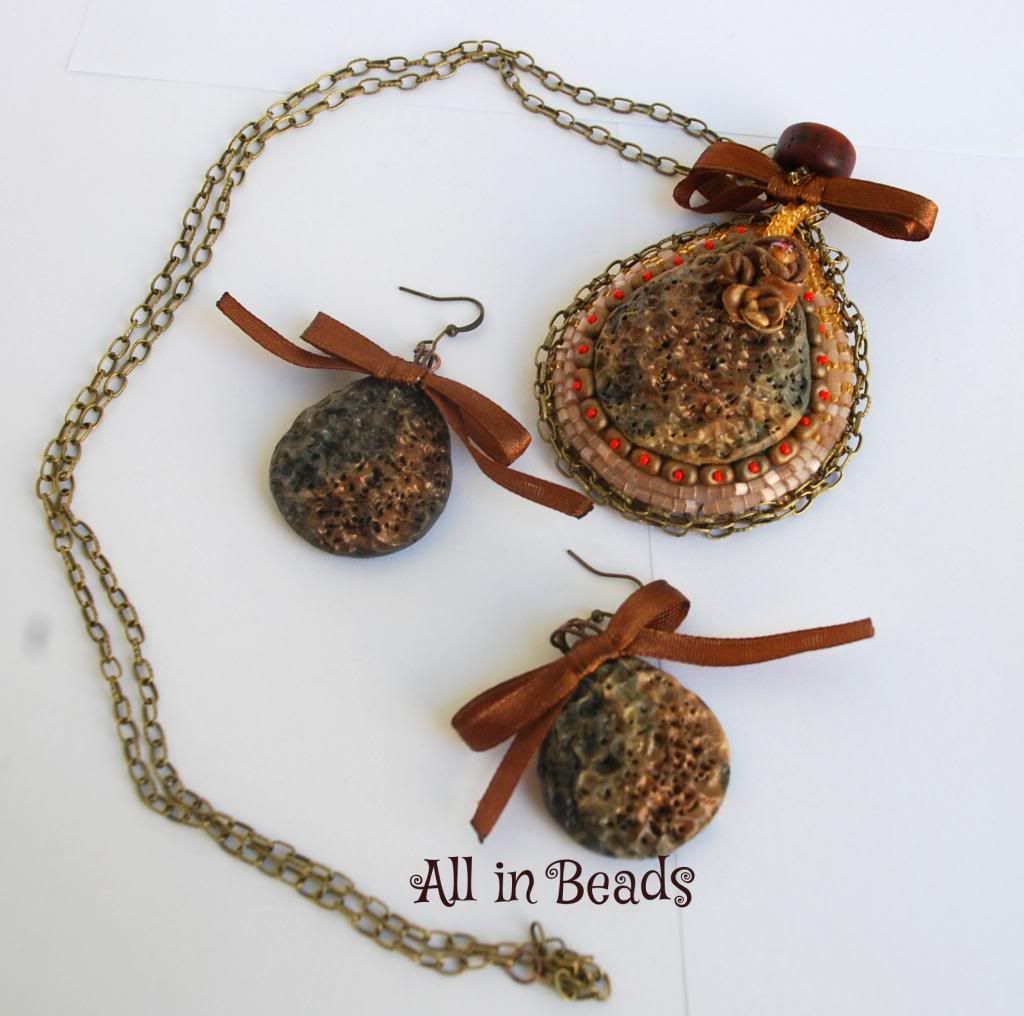
So just two finished beading projects and one sewing:

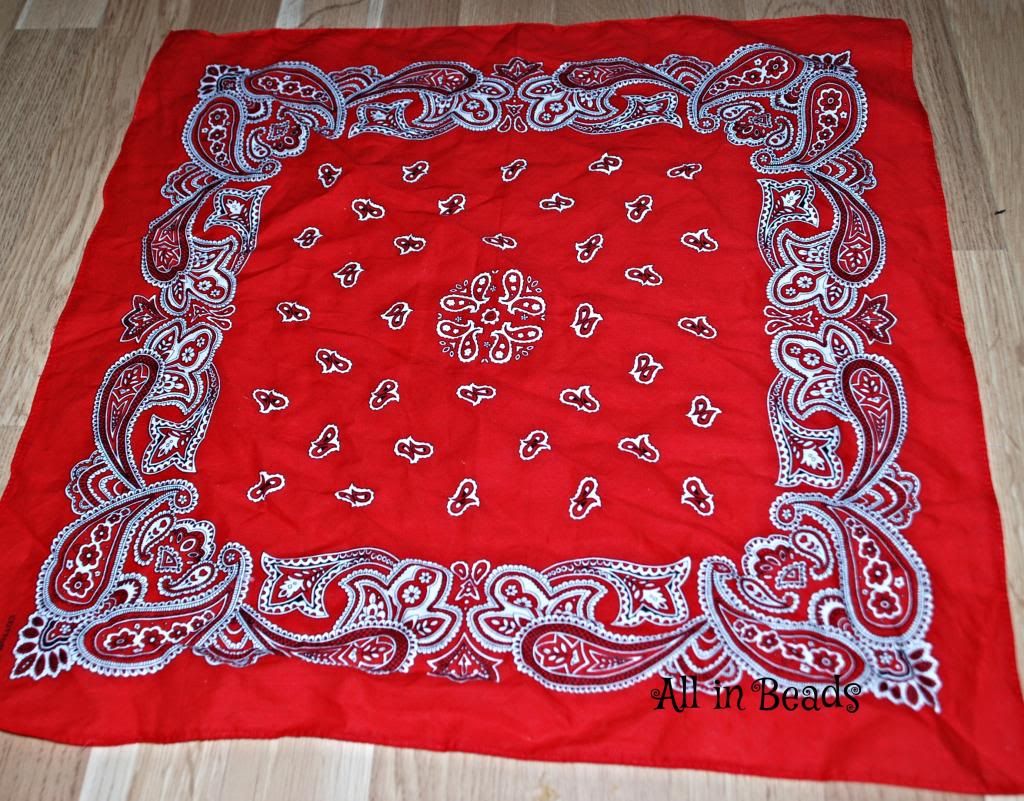
From this:

To this
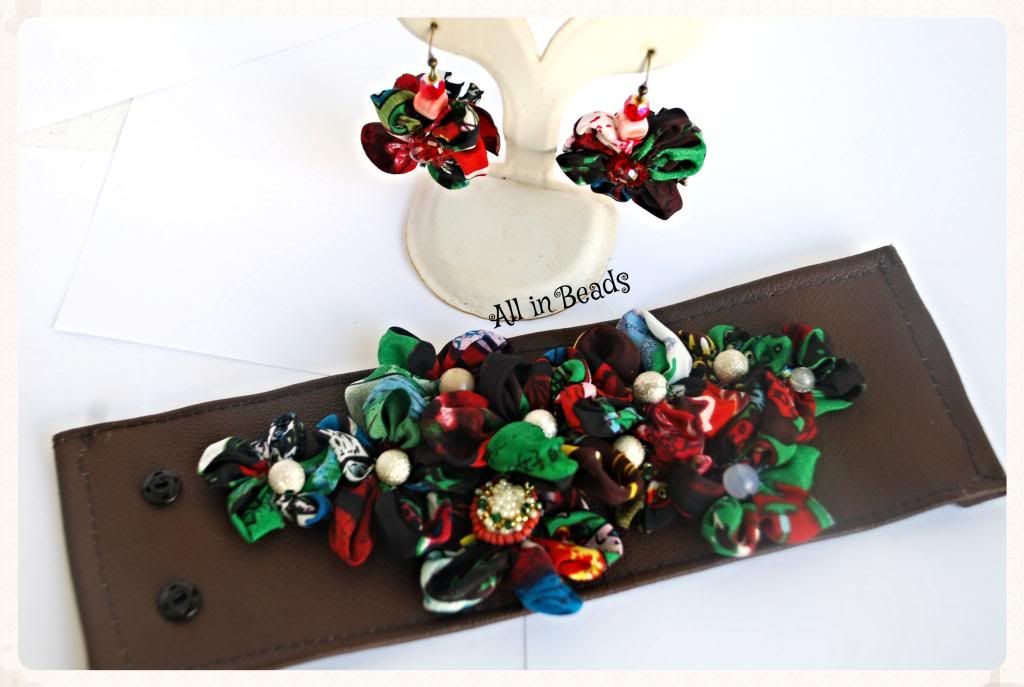
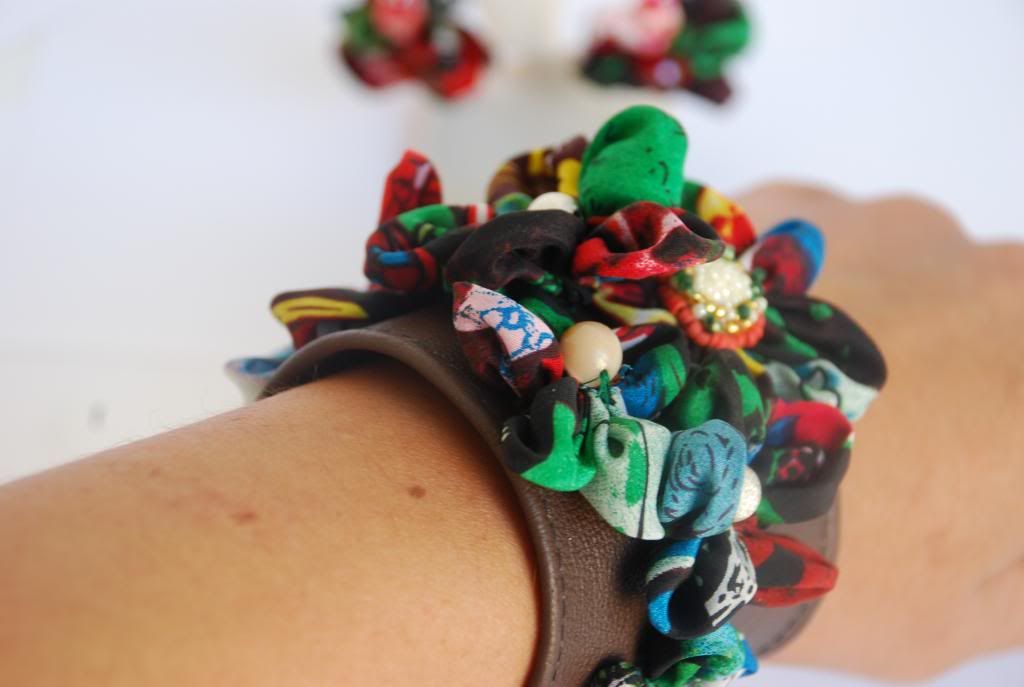
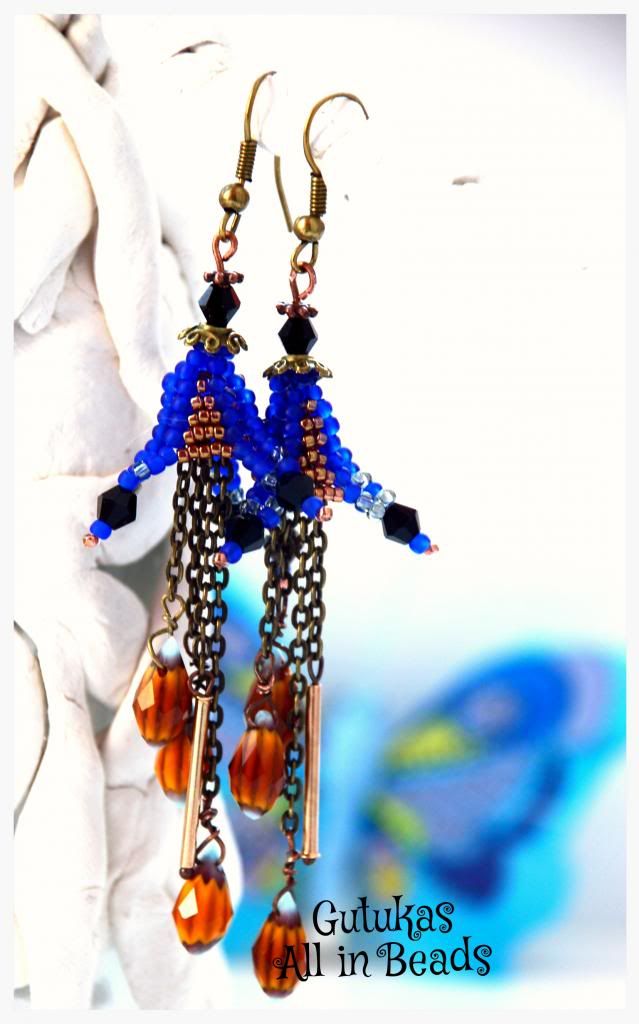
And another piece using leather and silk ;)

Sunday, September 29, 2013

Sewing a jewellery travel case- a tutorial

Hello once again- back in summer I have made a case  for my jewellery because I am all about beads ;) it seams, and it is very hard to decide what exact piece to take with me on a trip, so I take quite a lot, depending on my outfits.... So it is very useful to make sewn jewellery holder...
You need:
  • a sewing machine (or your hands and patience- alooot of) 
  • scissors, aruller, thread, iron, zippers (optional)- I have made without
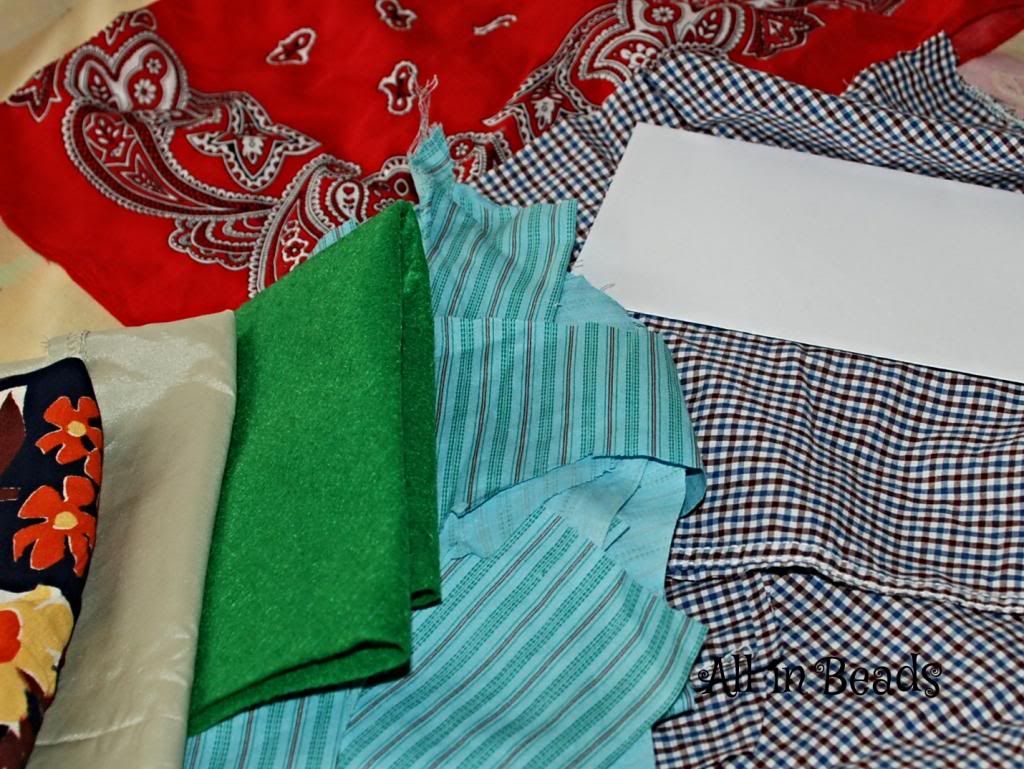
  • scraps of material for posckets
  • felt for embelishment
  • the main material
So let's get going....
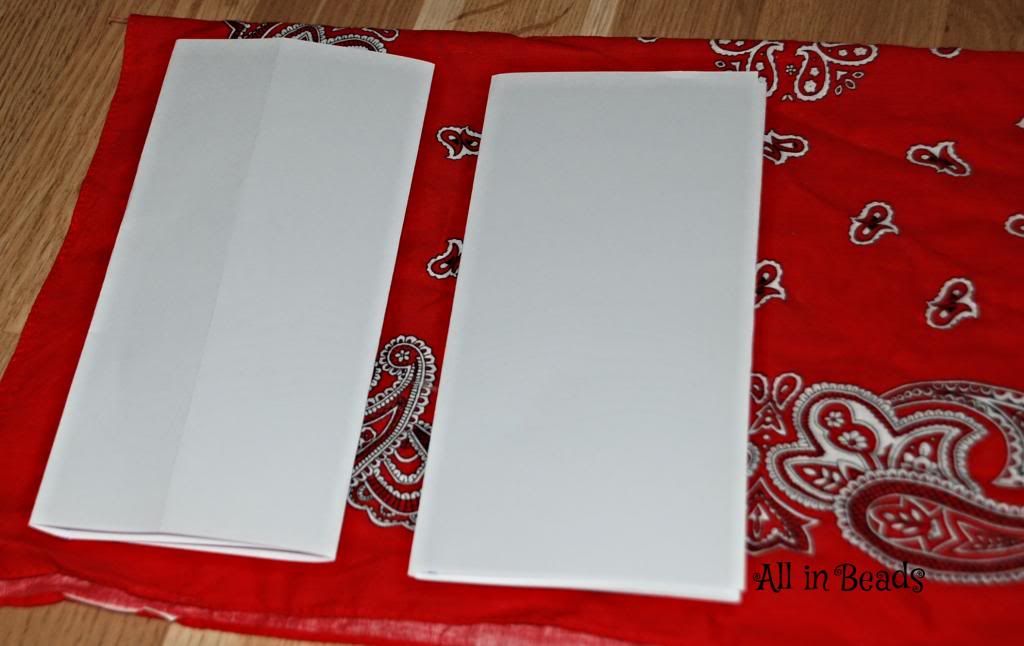
1. take anything what is a beautiful bigger scrap of fabric- I recycled my daughters unworn head scarf- these are cheap and colourful:

 2. Fold your material in half, take paper for pockets measurement if you have a special ruller and a rotary cutter- you just do it.
3. Take your scraps for pockets- I made 4 bigger and one smaller.
4. Cut them, sew right sides together, leave a small gap, take the outside out :)
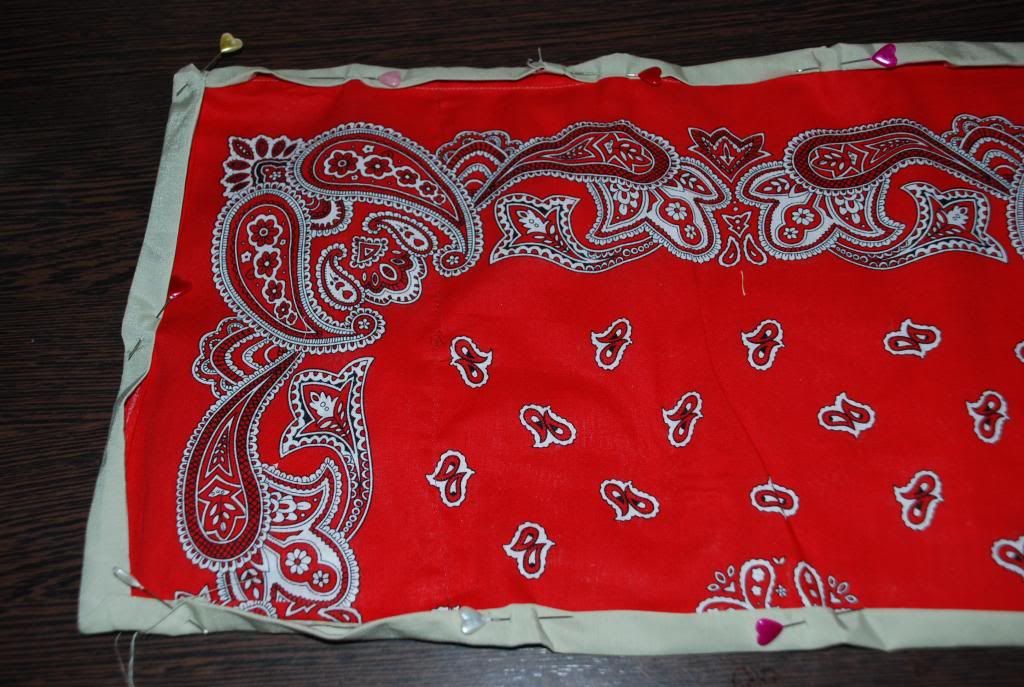
5. Sewn they look like this, fpor contrast I bent the rim, and iron iron iron, it is the key...
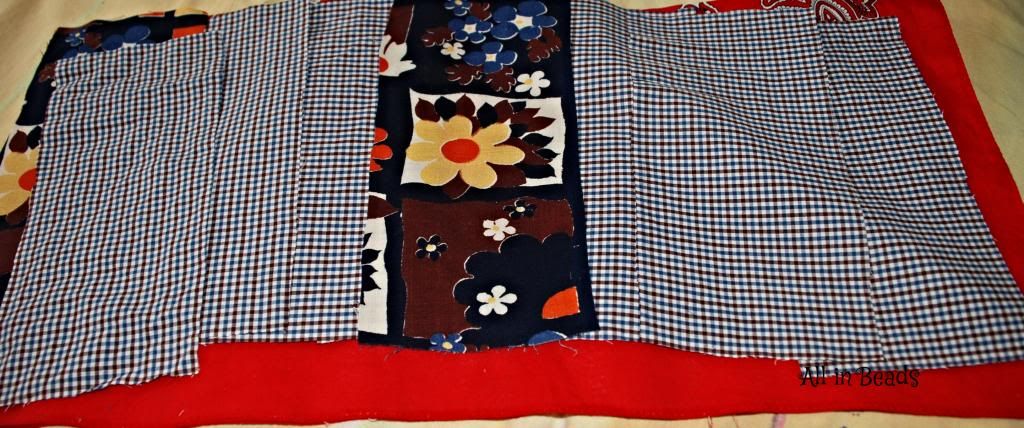
6. Sew them nicely, first pin of course.
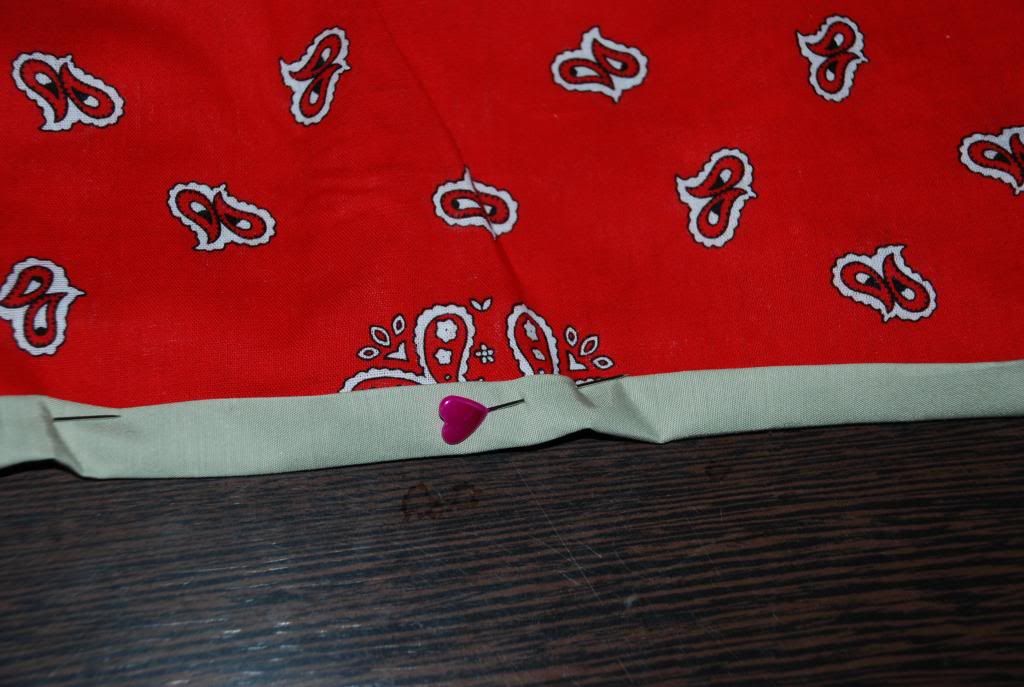
7. Sew a certain binding, I ironed before, use a very coordinating thread.
8. Pinb pin pin and sew


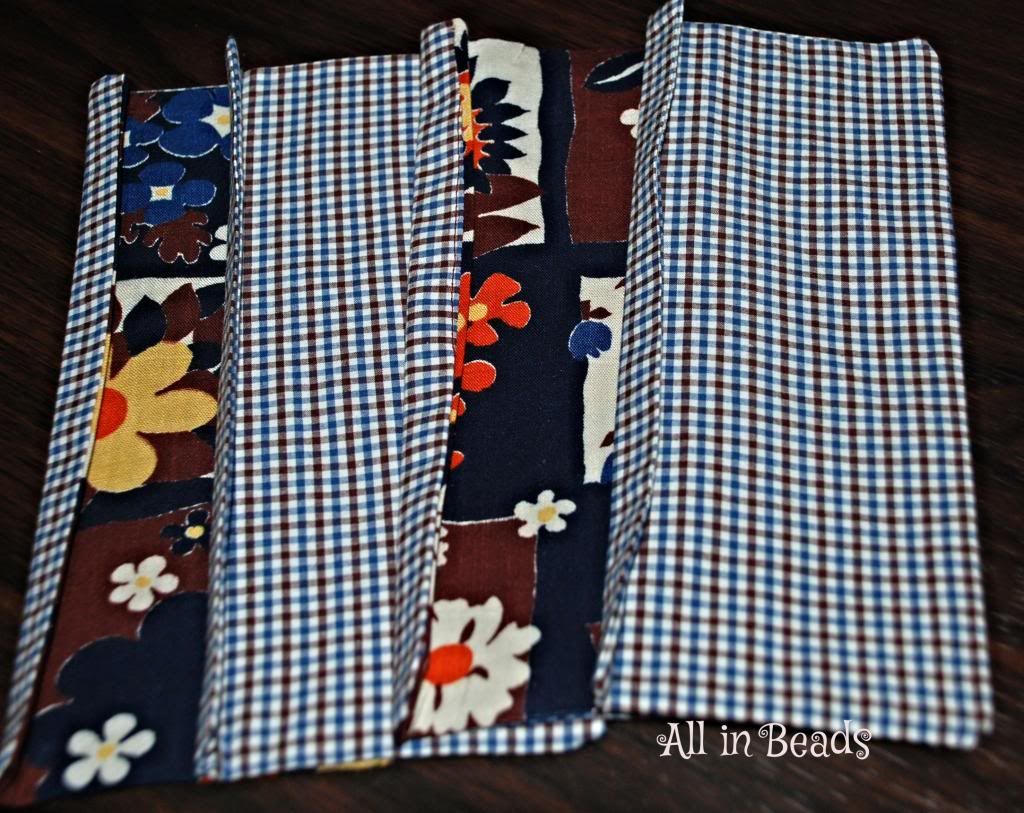
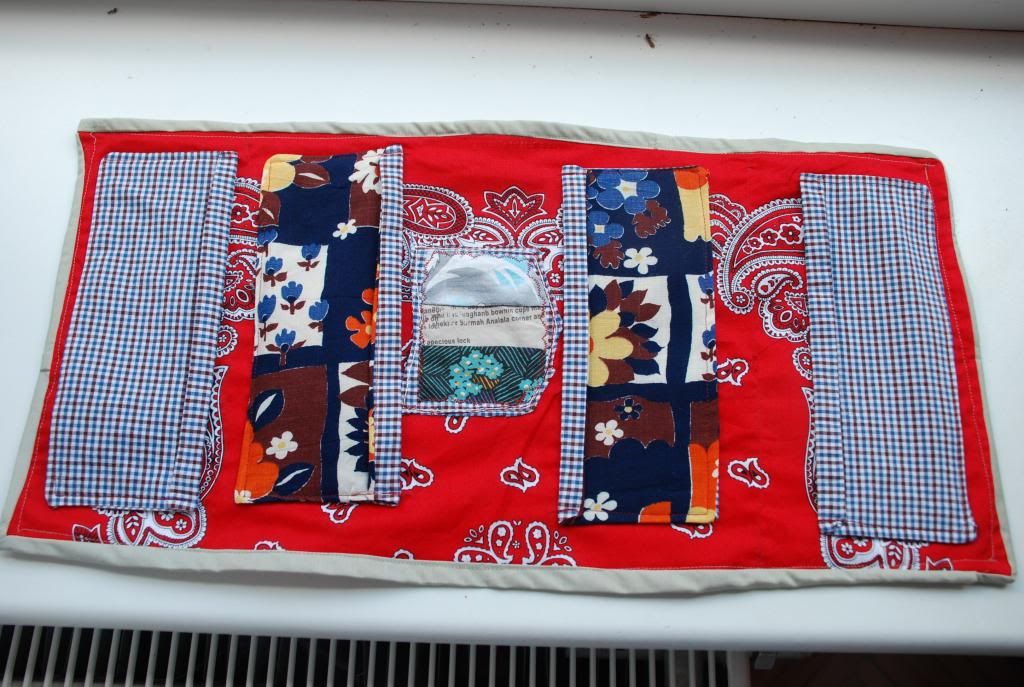
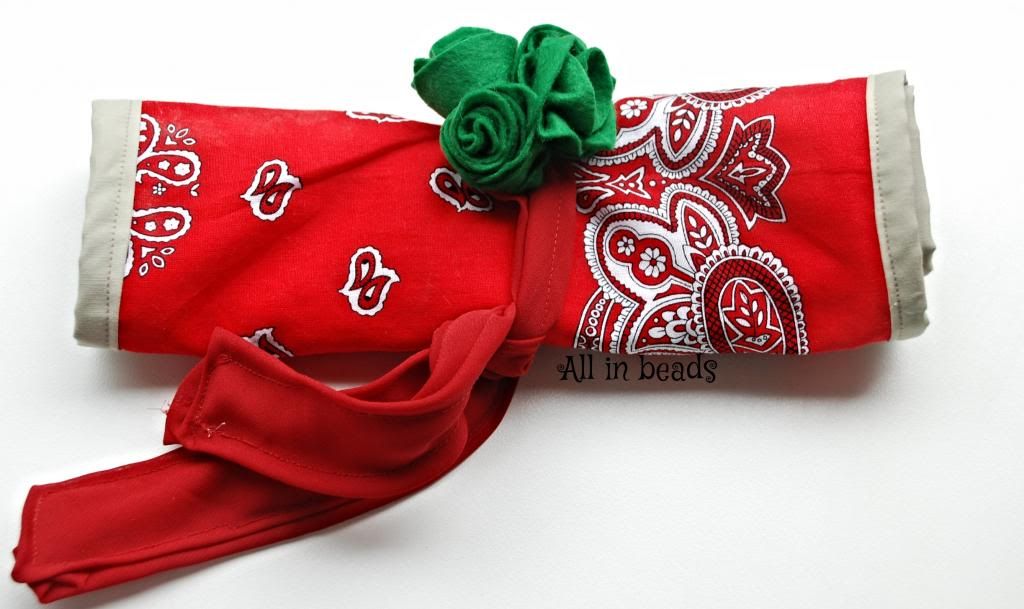
9. Here is the finished piece from inside:
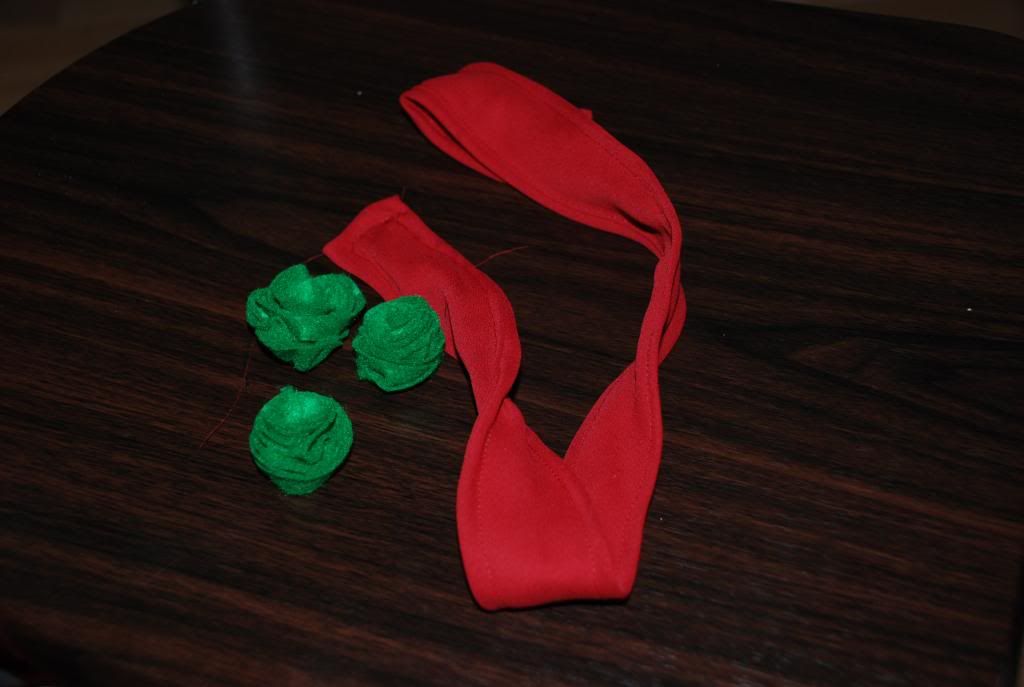
10. Make felt roses and a tie from some strechy material.
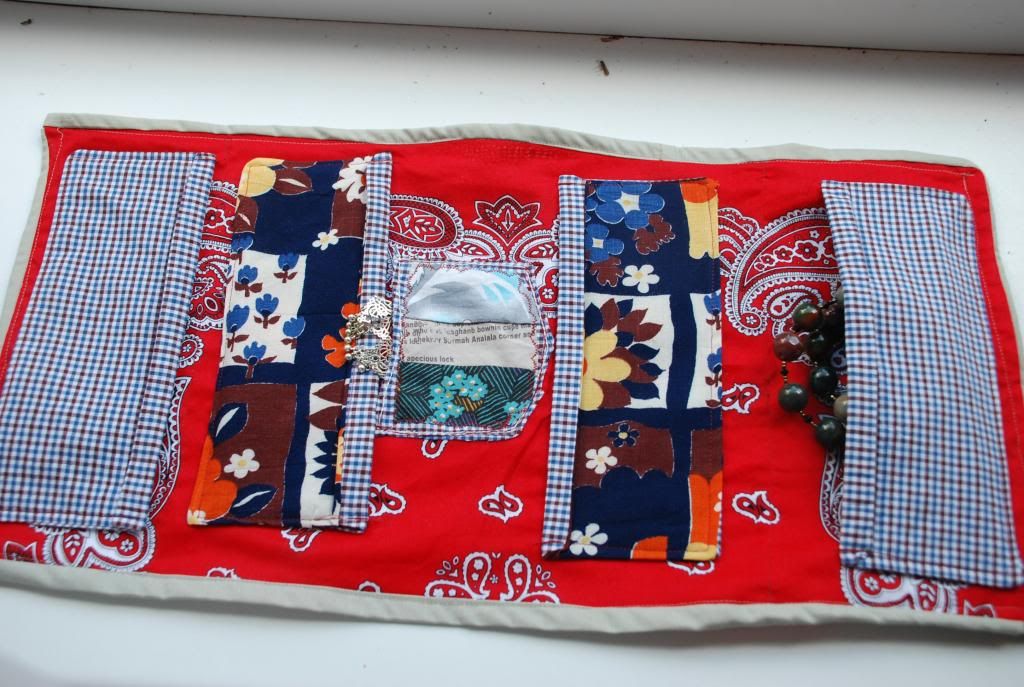
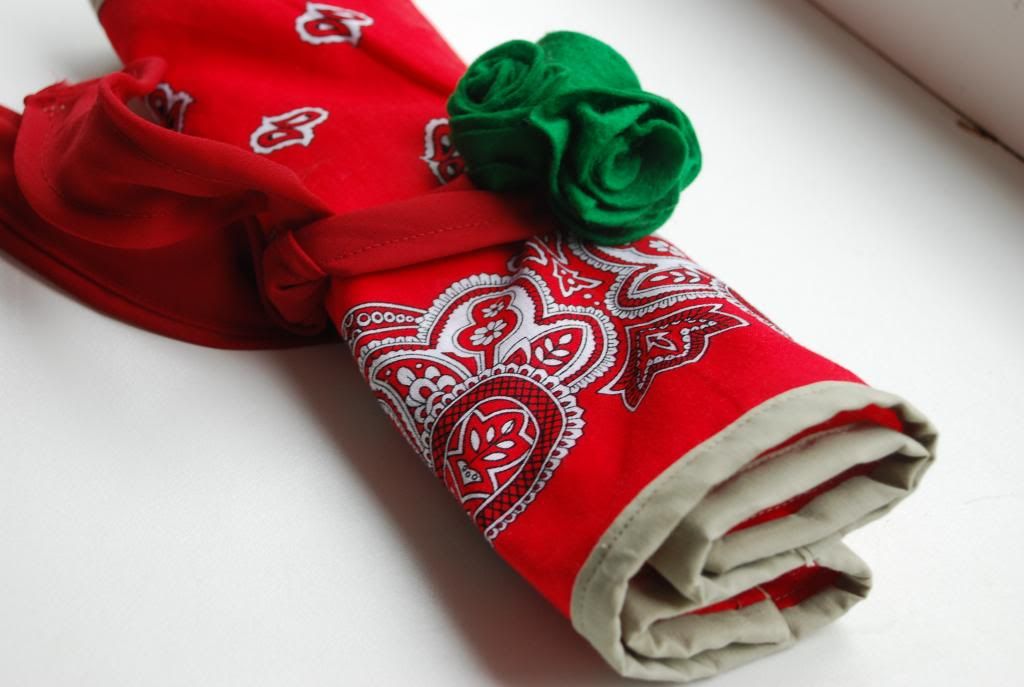
And here it is:


PS My another sewing venture that I have done a tote bag :

Happy beading and making for next summer ;)
G.


Friday, May 3, 2013

Learning brick stich

From previous brick stich endevours there are some pieces that I like :) I have made them a couple of weeks ago; somehow I haven't posted them. So i am doing it now....

A pin "Apple tree blossom" time consuming, especailly because of the inner part :), the seed beads used- toho treassures.
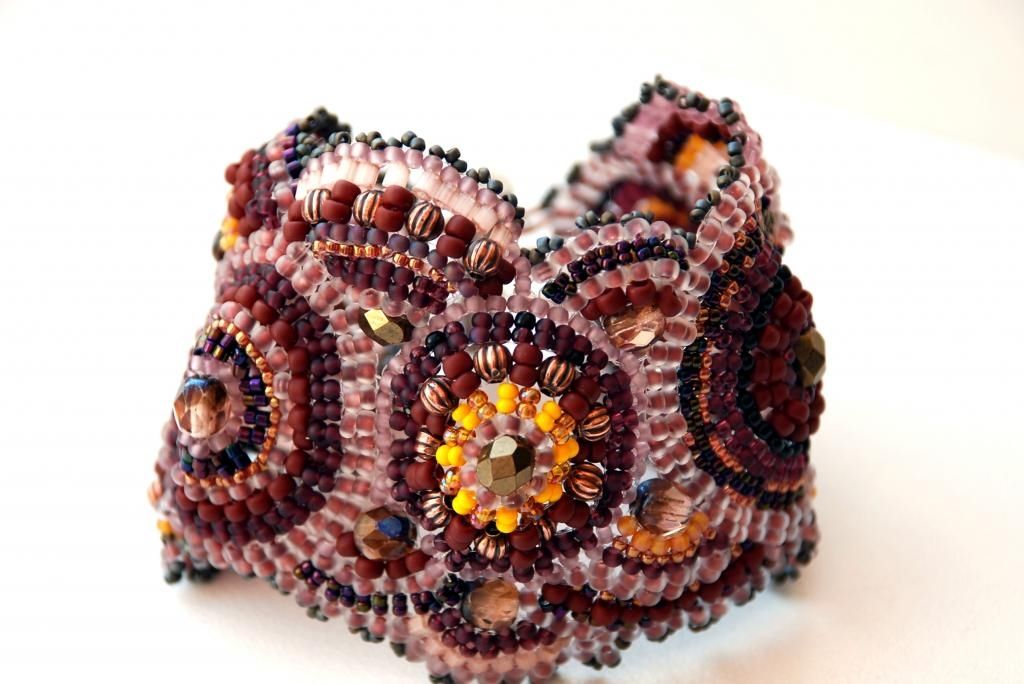
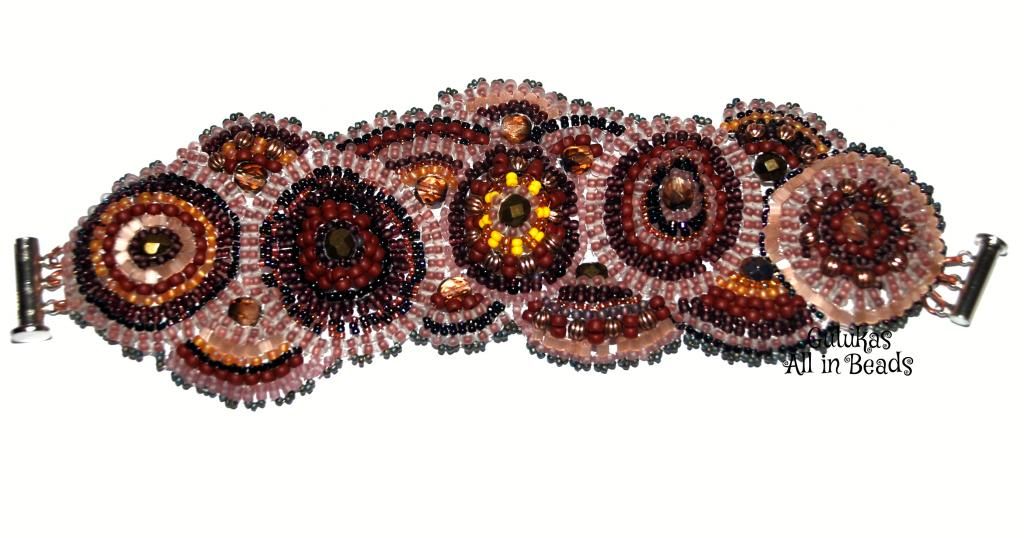
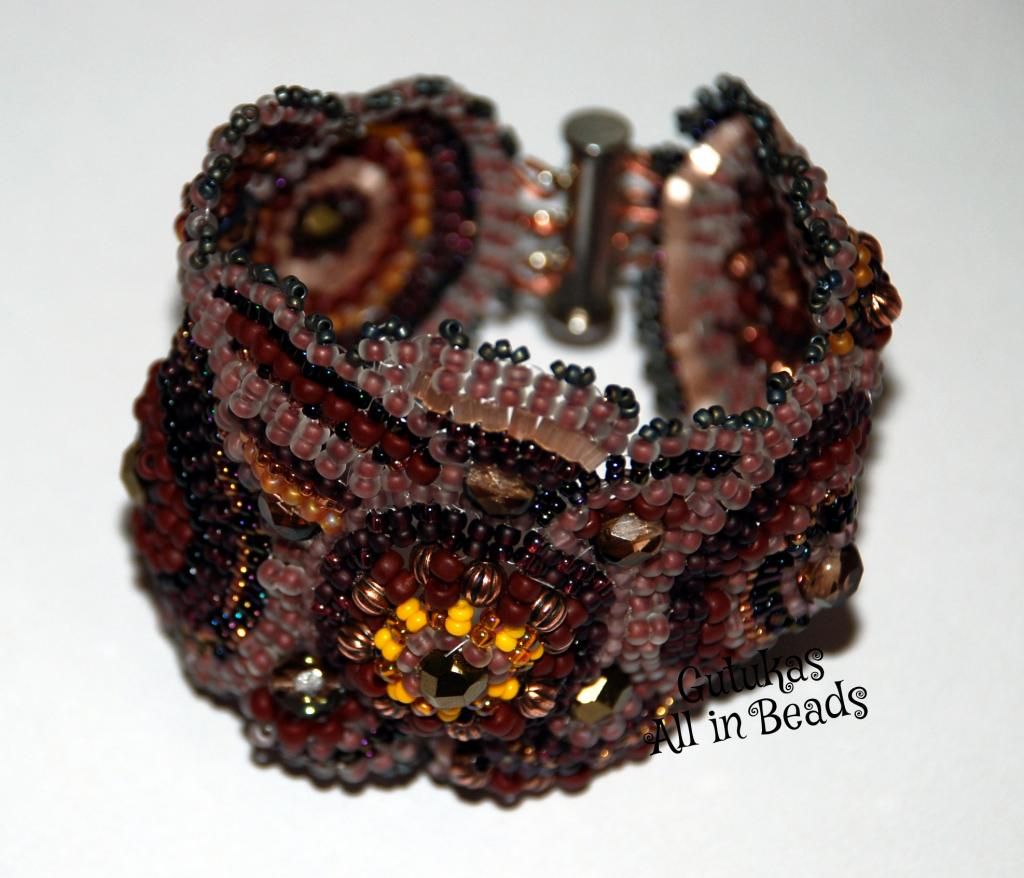
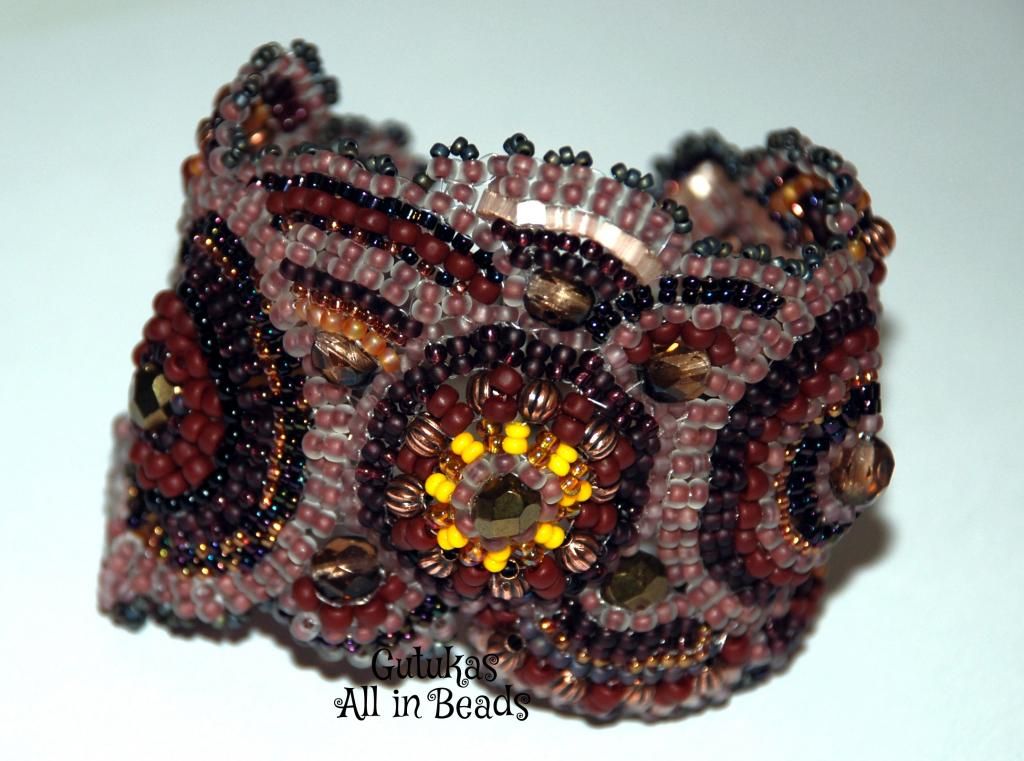
A bracelet made out of circles then those circles were sewn together and added additional half circles, if I clearly express it :)


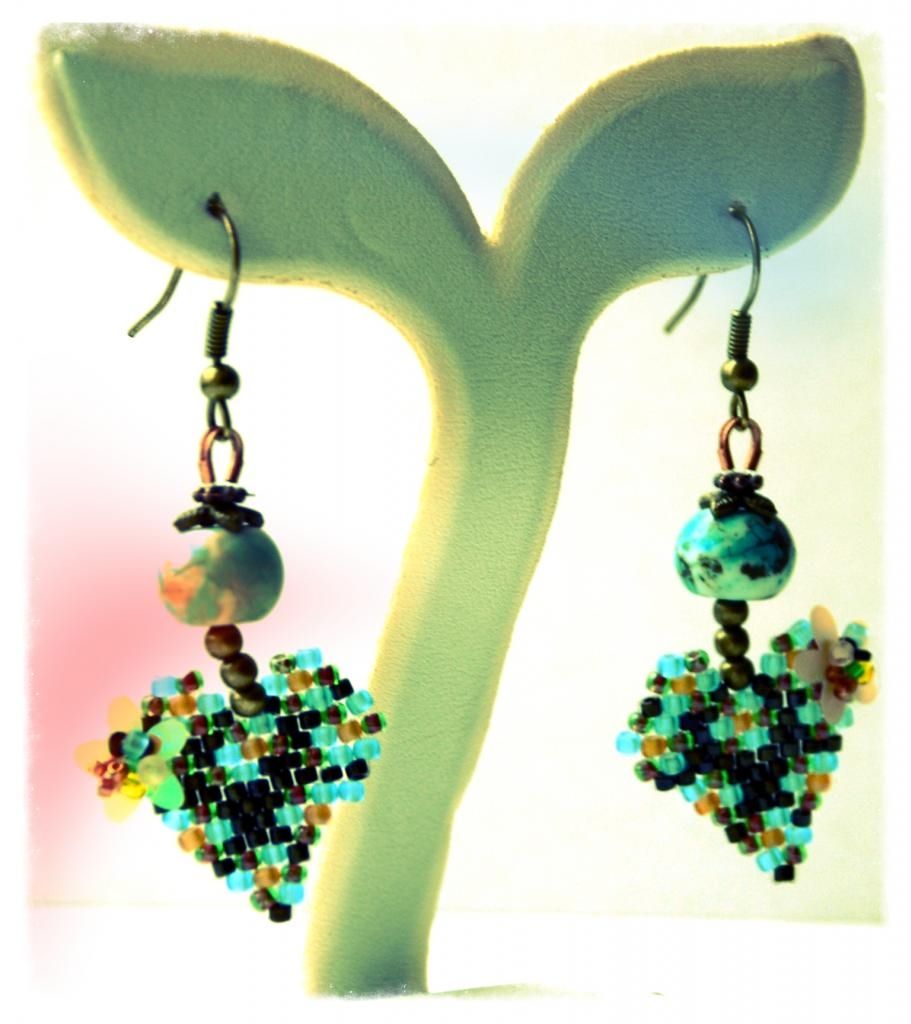
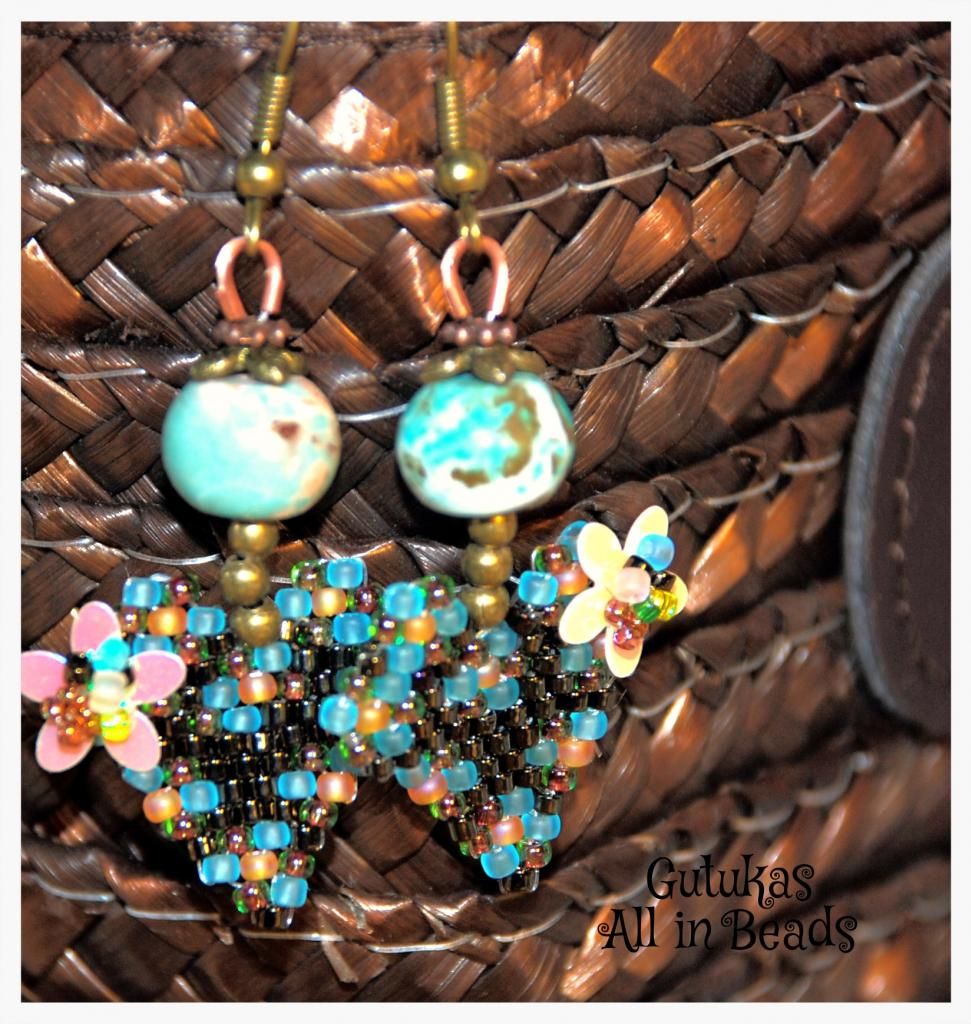
 Earings-  hearts:

Happy beading-
PS brick stich rocks ;)
G.

Wednesday, April 24, 2013

My new pieces peyote

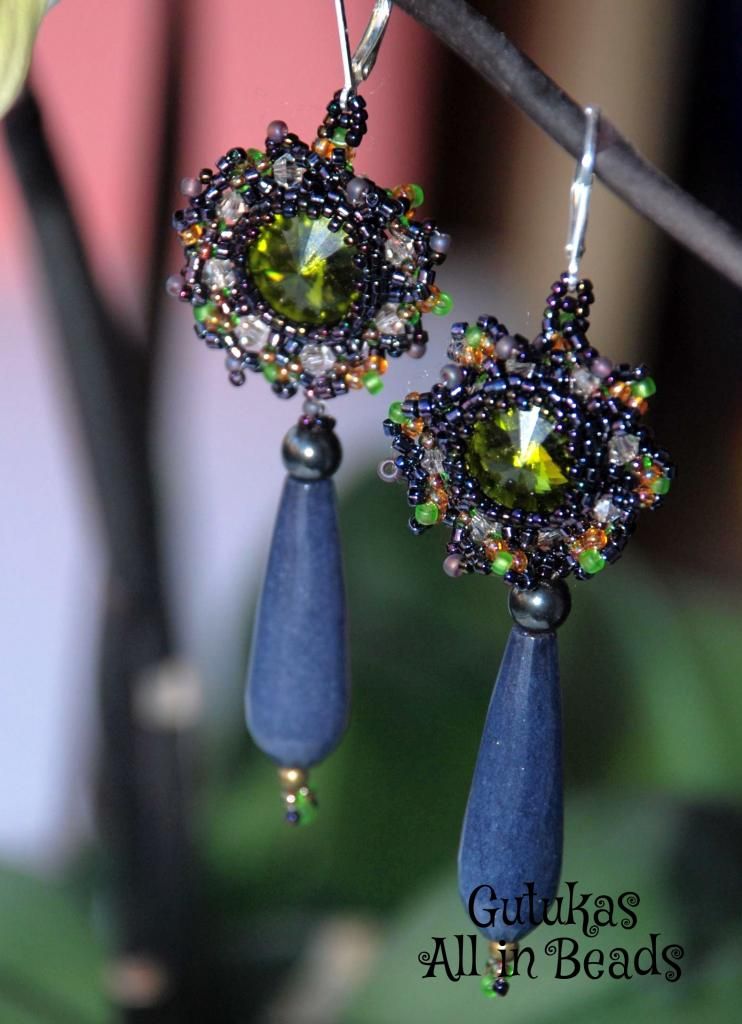
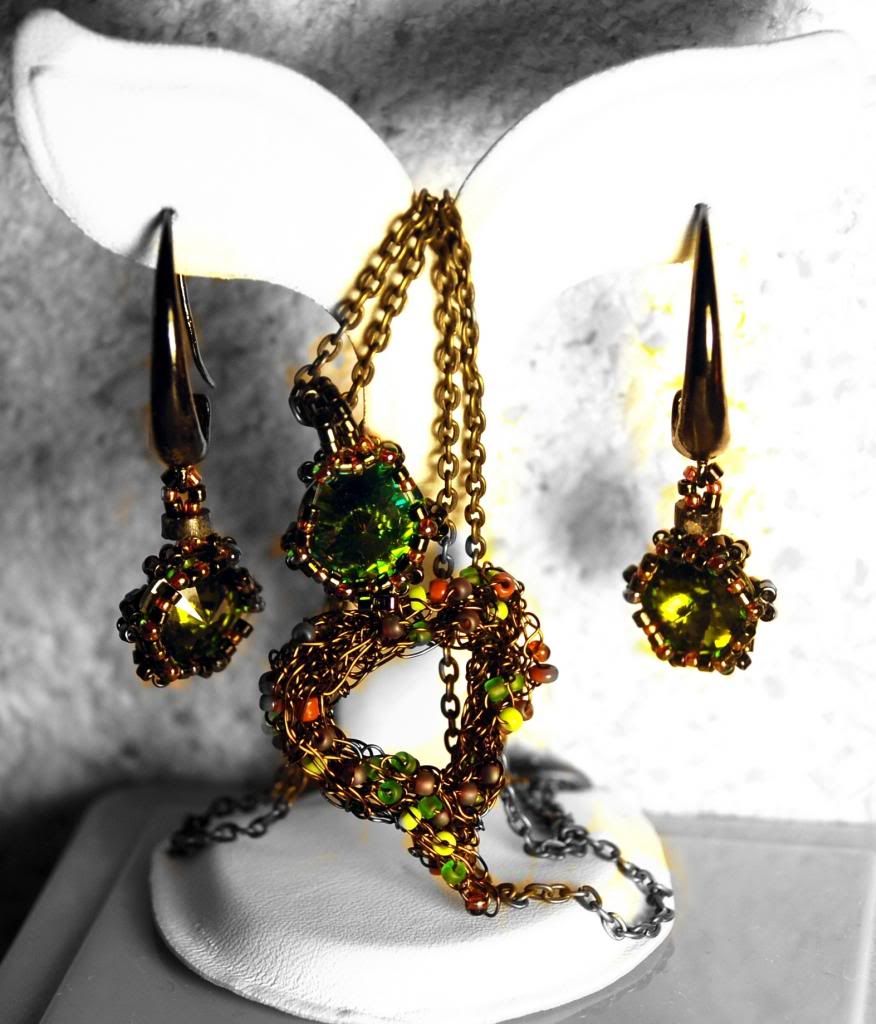
Some of my new beaded works- the rivoli beaded around in peyote. Some blue stones added, quite wearable due to more colours, than one.... :) I like those earings a lot. ;)


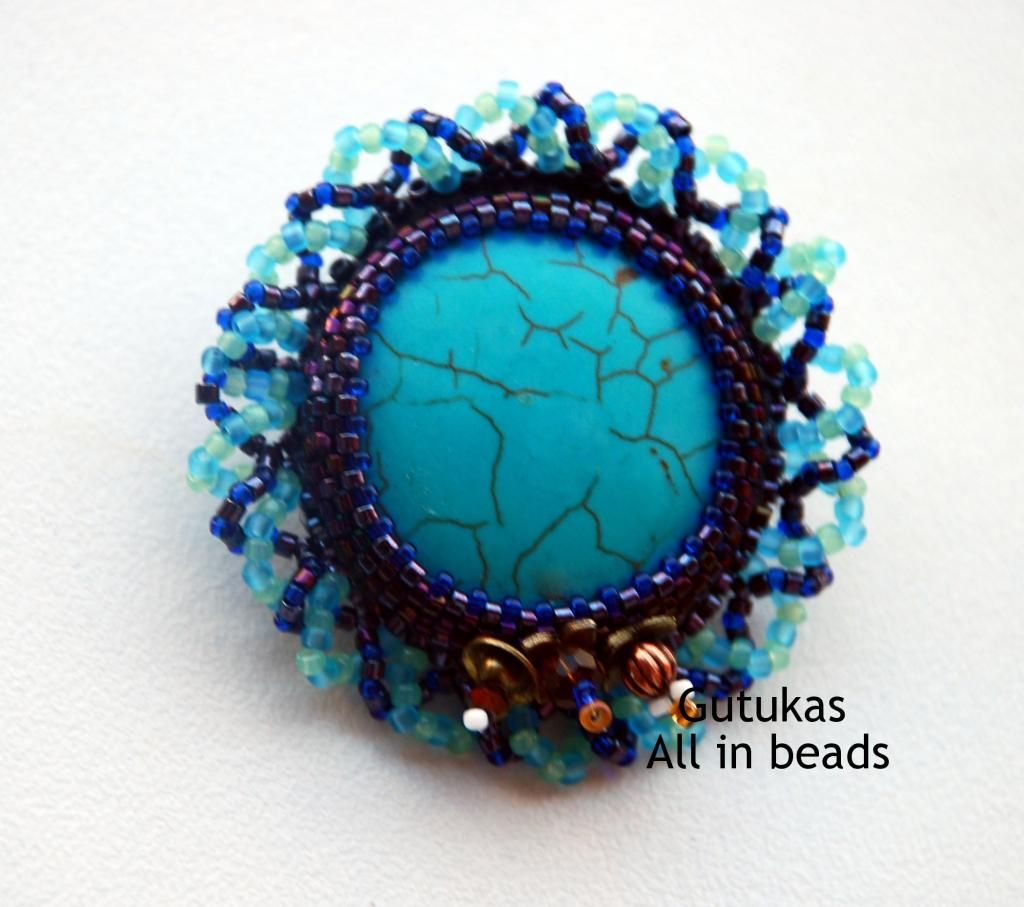
A beaded around cobochon;
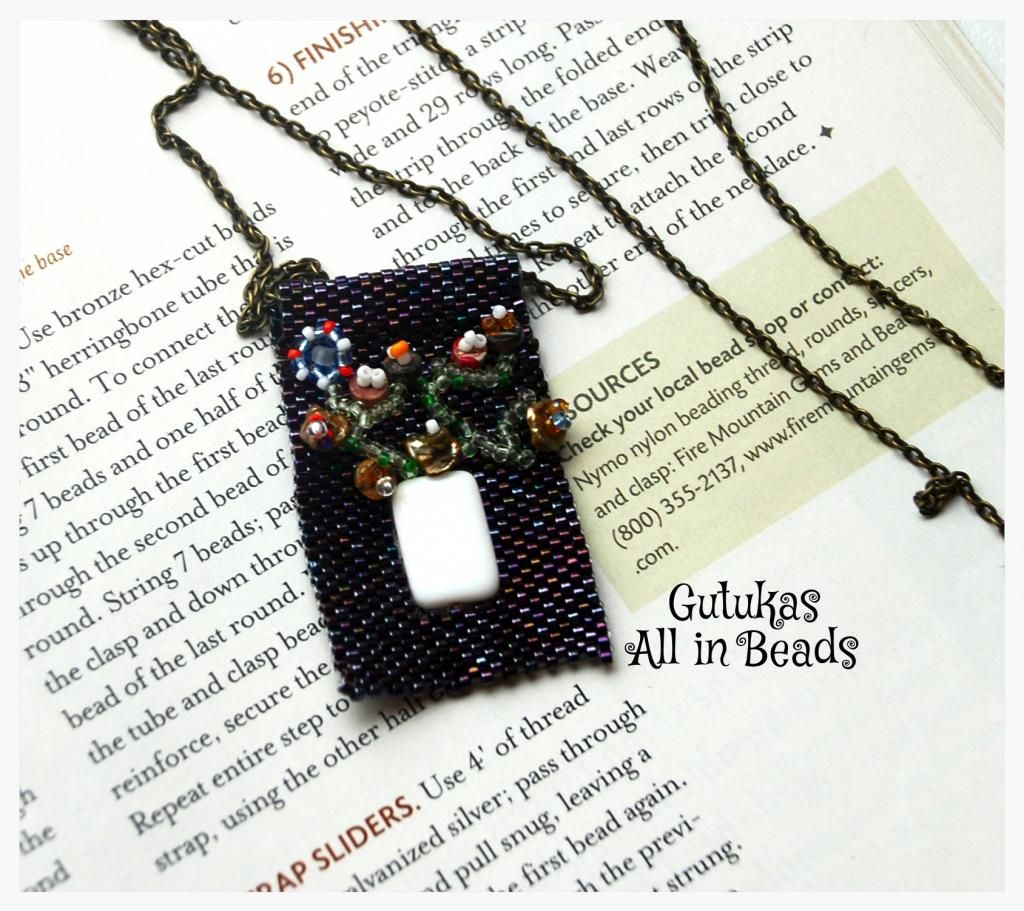
 A pendant above is done in peyote with a hole for a decorative element :)


The last peace circular twisted peyote

Happy beading
G. :)

Sunday, March 24, 2013

Three HR projects

I have used herringbone to make these HR bells- they have three branches- wonderful to suspend something suspendable from inside.

 The title is CIRCUS- very inspiring dangling beads, remind me of circus gown or curtains or clown's trousers pattern. It was fun to make. My wirework needs practice so much. ;)


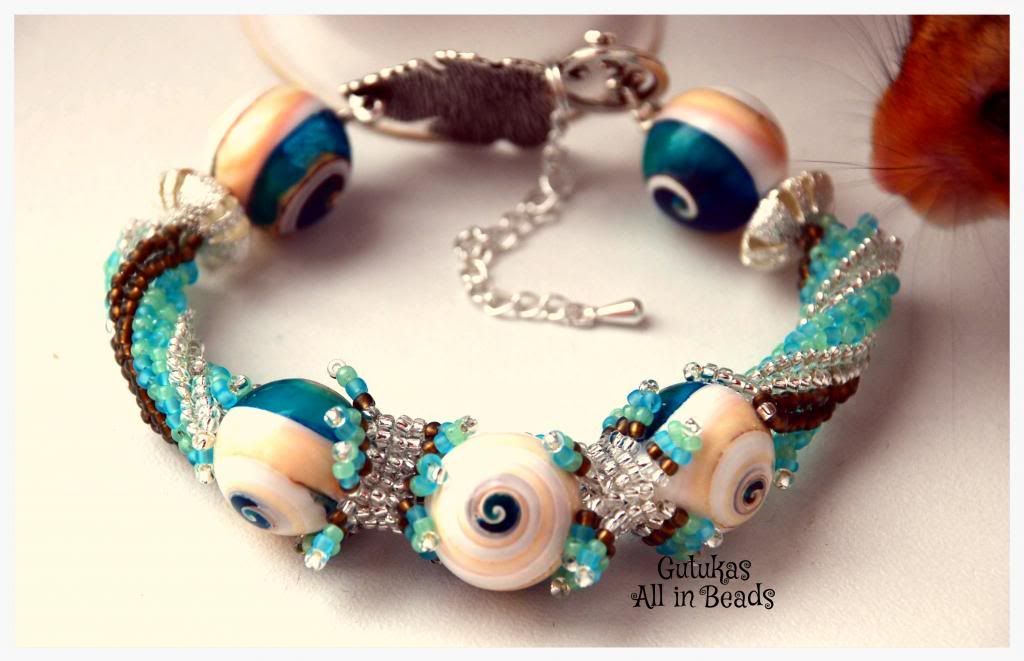
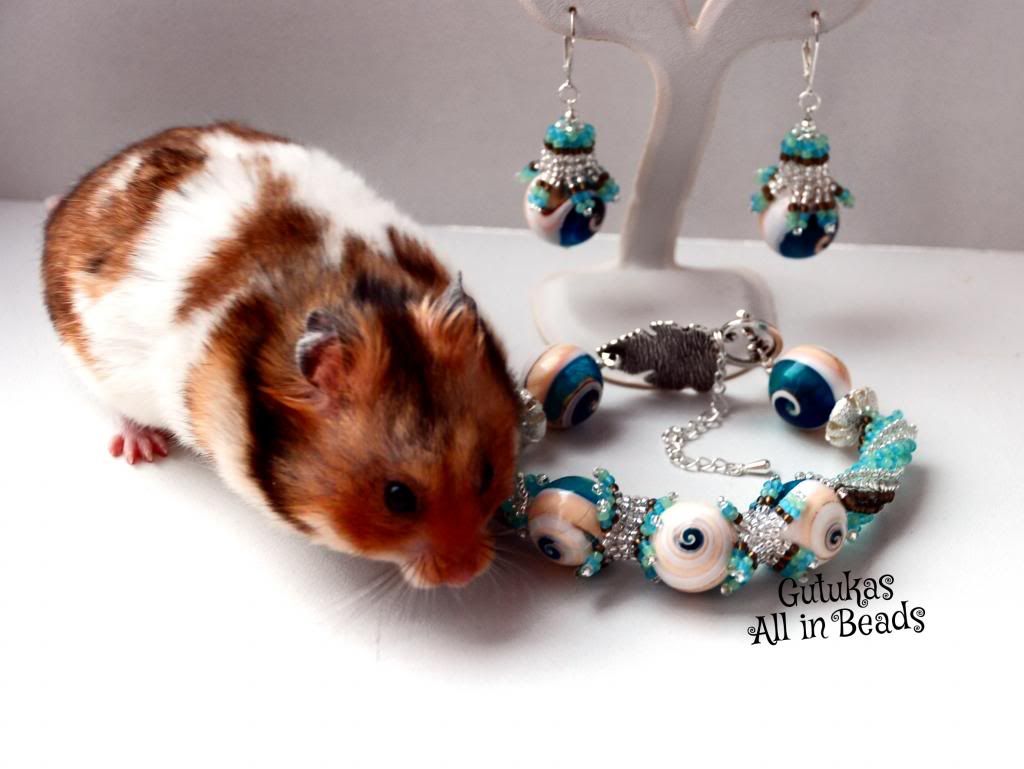
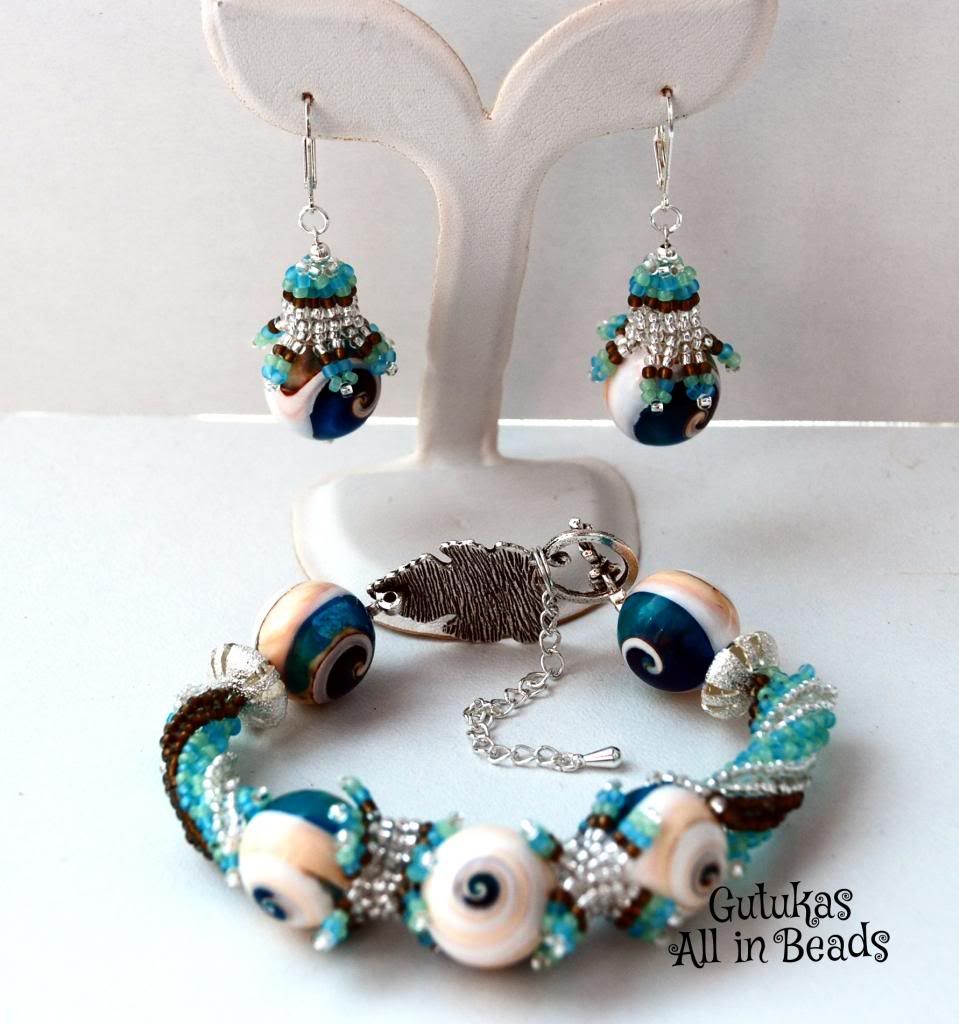
Another project is a herring bone bracelet and earings- THE LAGOONI have used two techniques: twisted tubular herring bone and branched herringbone. This is the tutorial for the twisted one at Inspirational beading page.

My kids' impatient hamster came into the scene :)


The last piece is beading around the rivols- quite easy to bead with herringbone as well. THE HELIAD'S EYES

Happy beading and trying herringbone- for me there is one last it seems HR prioject a necklace....
G.


Saturday, March 16, 2013

A beaded bead detail (RAW again)

I have finished a beade bead (after having redone this detail twice it is still not perfect). However, it was very intersting to make and try out can be as a focal or as a part of a necklace, a smaller version can ebcome earings :) anything... It is done in RAW.

Light salsa

 The pattern is here- make a square and join ;)

Have a nice day ;)
G.

Sunday, January 27, 2013

A Bead embroidered heavy pincushion tutorial

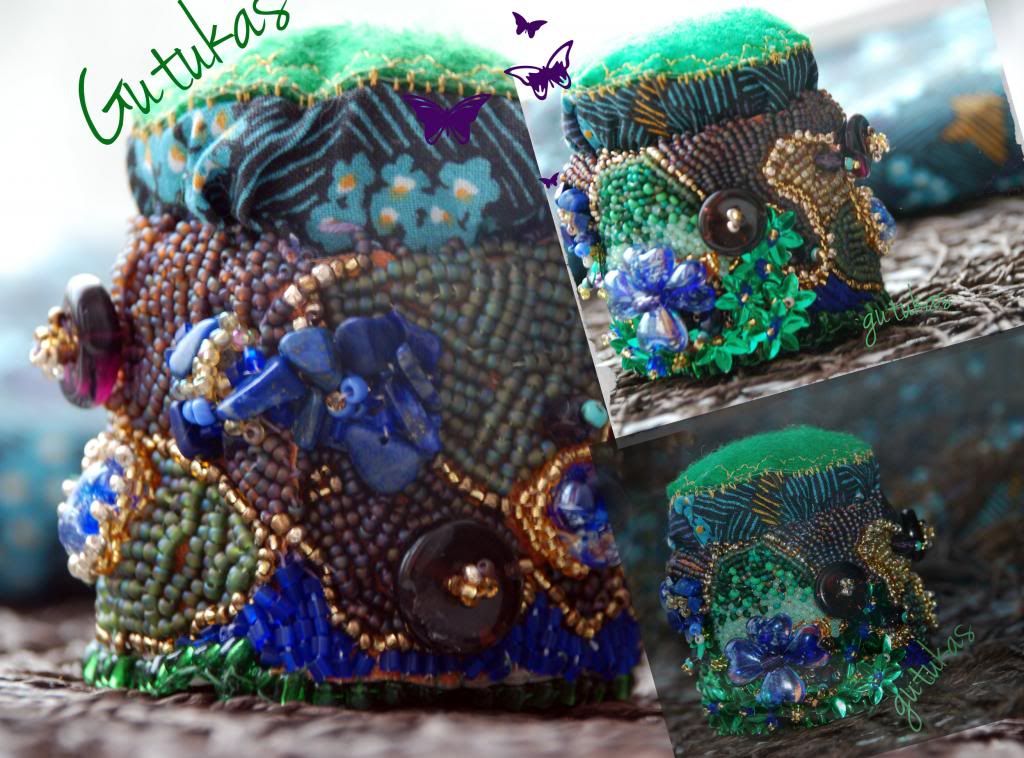
 I have made another of the lovely pincushions.  I extremely like making them. It is my first one. This one is for tacklethatbeadstash JANUARY CHALLENGE. 
Taken from Operation tackle that bead Stash

I don't know if it will suit because it is not jewellery. The colours are blue, gold, green and purple. I have used 12 kinds of seed beads, some sequins and some glass beads :)

How do I make them:

You need:
  • a small container
  • a pebble (something heavy)
  • some kids' dough (or a scrap of newspaper)
  • some cotton
  • a scrap of material (can sew before hand, can be appliqued)
  • a bead embroidered piece
  • scissors, a needle, some leather :)
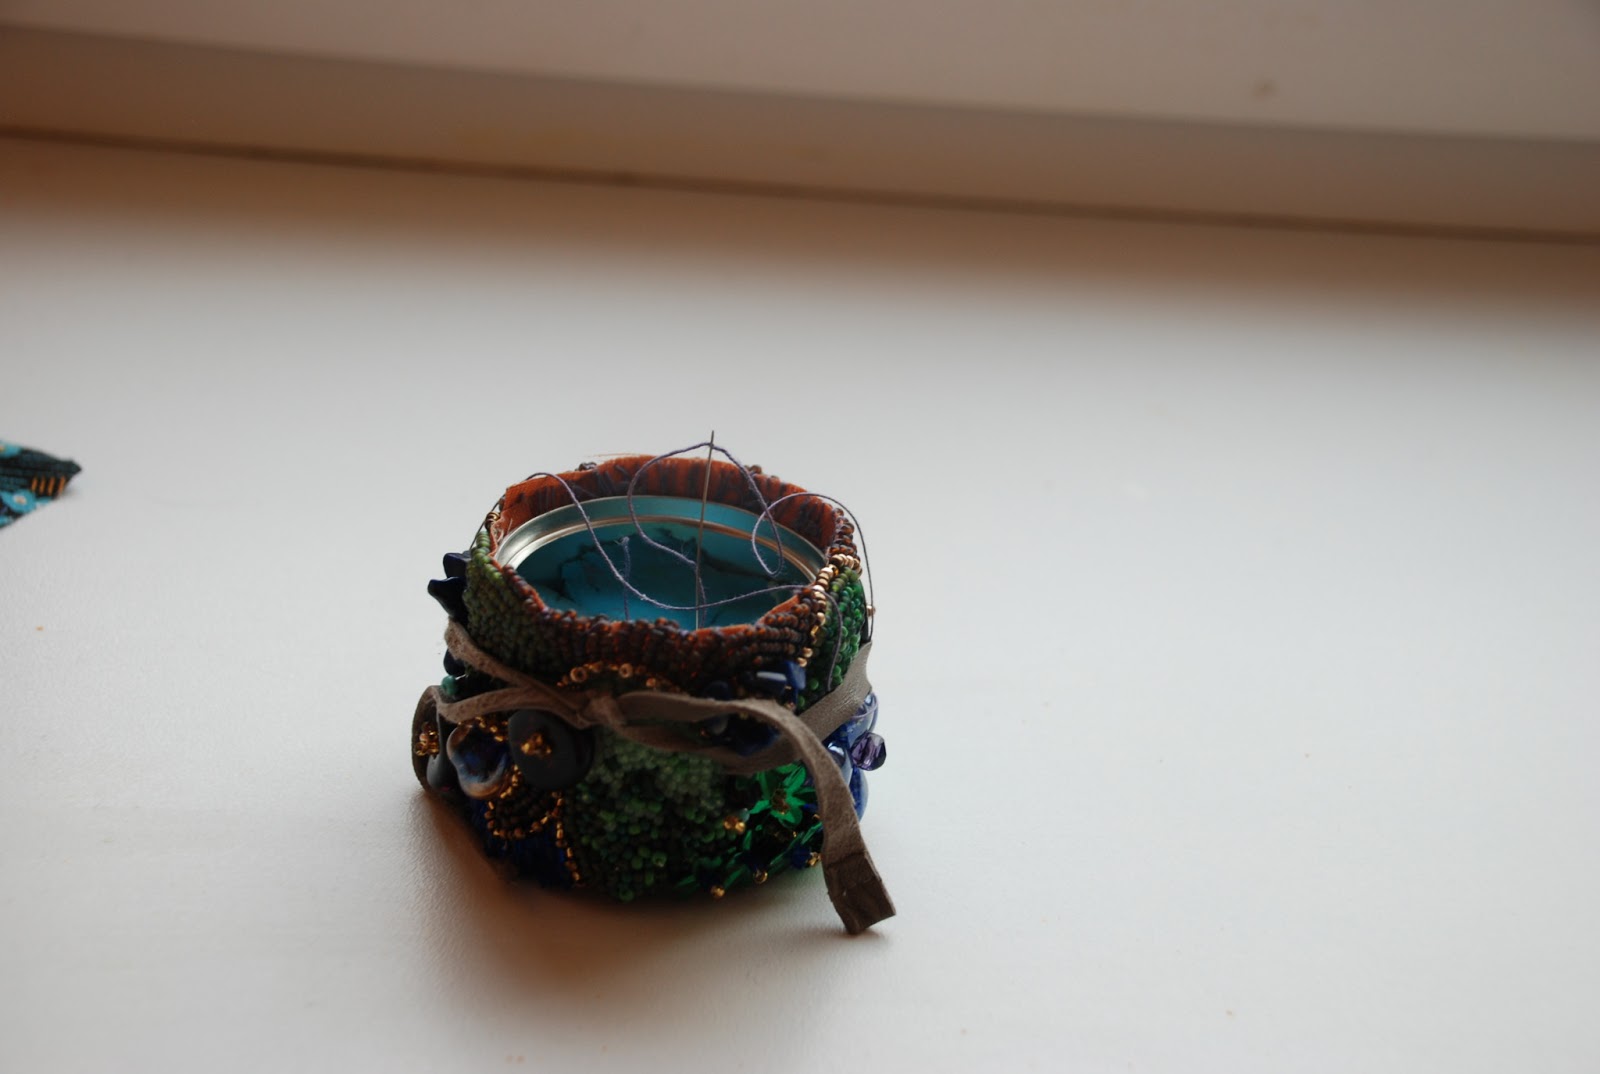
Take a small container, a tinlet/plastic or cardboard boxy/ etc. Measure a piece which you will have to bead embroider.  
 

Then embelish a piece of material with bead embroidery, or croos stich embroidery whatever your fantasy is up to on that day :)
After that fill your container with something for heaviness- a pebble for example.

Surround your container with the material and sew it together, I glue it to the container, as well for extra strength and durability. I wrap it with a string for hardening.
Sew your scrap however you want- you can take a matchy matchy material ;) or a cpontrasting colour.
Wrap a piece of cotton with it and sew together underneath.

Put it onto the contaiiner sew together, fill the litle gaps with beads if necessary. I also embelish the bottom with leather sew around with beads for neatess.

 And here is the finished pincushion.

Happy beading ;)
G.

PS Now piblished in Totally Tutorials ;) .