Showing posts with label sewing. Show all posts
Friday, September 26, 2014
Friday, August 8, 2014
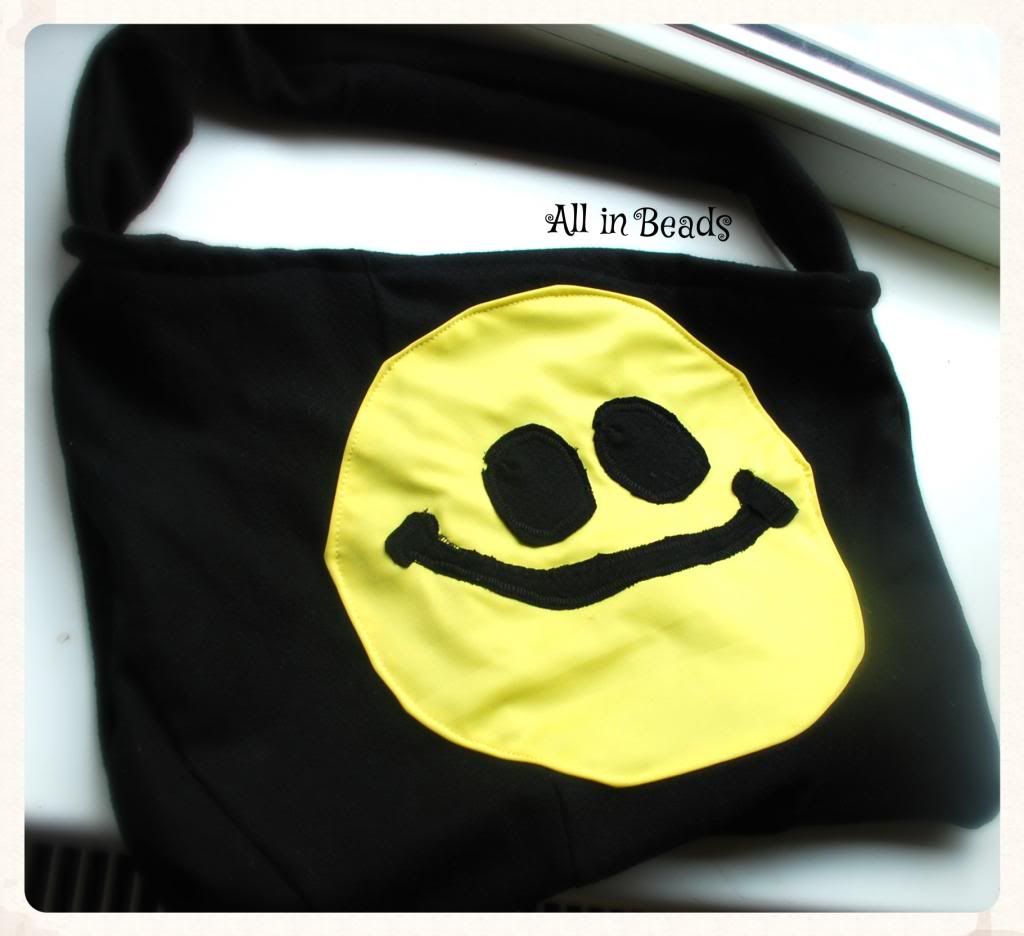
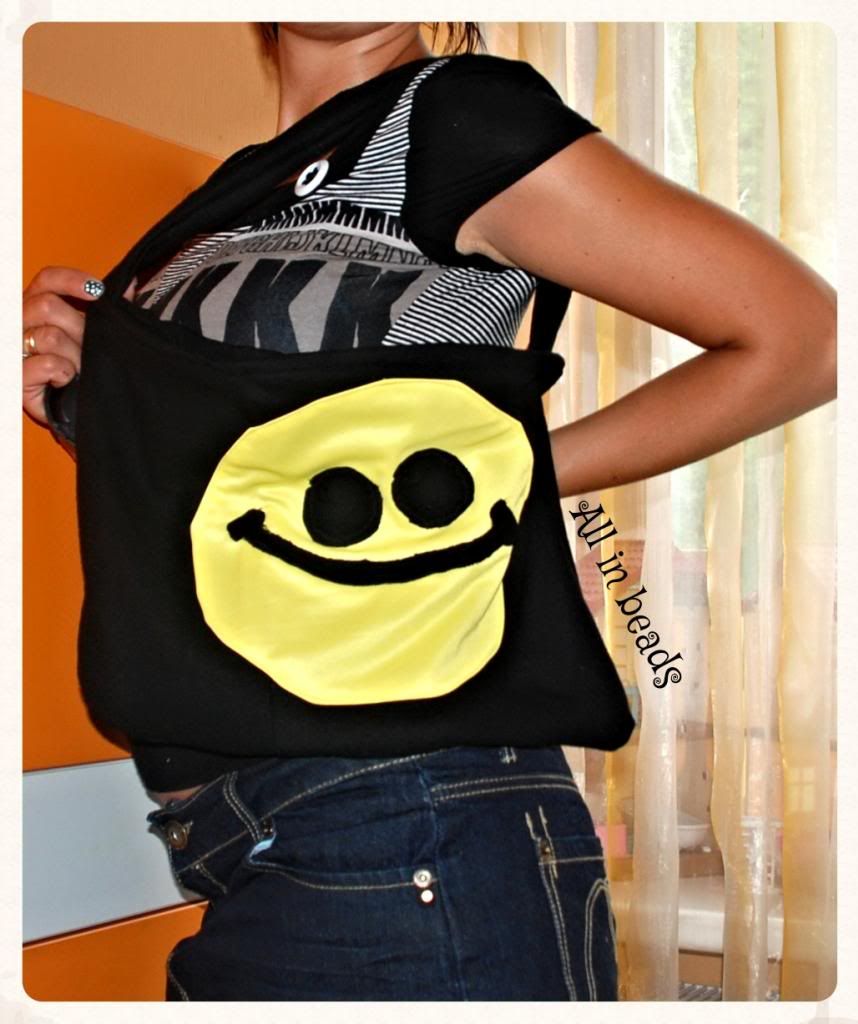
Sewing adventures: smiley applique on a gift tote :)
Hi, I haven't been writing as much as I would love to, of course. As we are getting into autumn I hope this bloggy of mine will be more productive, keeping my nail polish junkie's fingers crossed :0) In reality I've been busy with my kids lately, as it's summer holidays for them.... Enough rambbling let's jump into it.
My tote bag nothing original ;( :
We needed a gift basket for a friend, so I thought... why not to make it a hand sewn tote, which could be used later for shopping or things like that.
I have had a circle skirt of gorgeous lovely soft wool fabric, I thought if I am not going to wear it so why not to use it for my projects.
So first I cut the paper pattern, I always loose them somewhere. Then I cut 2 pieces of the black material and as strap piece. I sewed the strap and made a smiley shaped applique.
I love appliques: here is my pinterest board for that applique-sewing if someone is interested.
Here is my finished tote, it was a bit slouchy so I used some of these :
didn't have any new ones or didn't find rather (embarrassed now....)
The final view : just put any gifts in side and to the party!!!
Have you appliqued any totes or bags?
Gutukas
PS Should I name my blog into all in threads? ;) Where are the beads????
My tote bag nothing original ;( :
| Up-cycled gift tote |
![]() |
| A prepared smiley applique and my skirt |
I have had a circle skirt of gorgeous lovely soft wool fabric, I thought if I am not going to wear it so why not to use it for my projects.
So first I cut the paper pattern, I always loose them somewhere. Then I cut 2 pieces of the black material and as strap piece. I sewed the strap and made a smiley shaped applique.
I love appliques: here is my pinterest board for that applique-sewing if someone is interested.
![]() | |
| Pinned and bent the corners and sewed with a small small length stich slooowlyyyyyy |
didn't have any new ones or didn't find rather (embarrassed now....)
The final view : just put any gifts in side and to the party!!!
Have you appliqued any totes or bags?
Gutukas
PS Should I name my blog into all in threads? ;) Where are the beads????
Sunday, July 20, 2014
My sewing adventures: make-up bags
The summer is in its prime, I love this time. Usually I do some redecoration at home and travel- we went to Turkey and Latvia. My handicraft is suffering, but the hands are itching :) I am thinking about a quilt (partially a quilt- I will show when it is complete) for our master bedroom and bead work,of course. For now, some sewing:
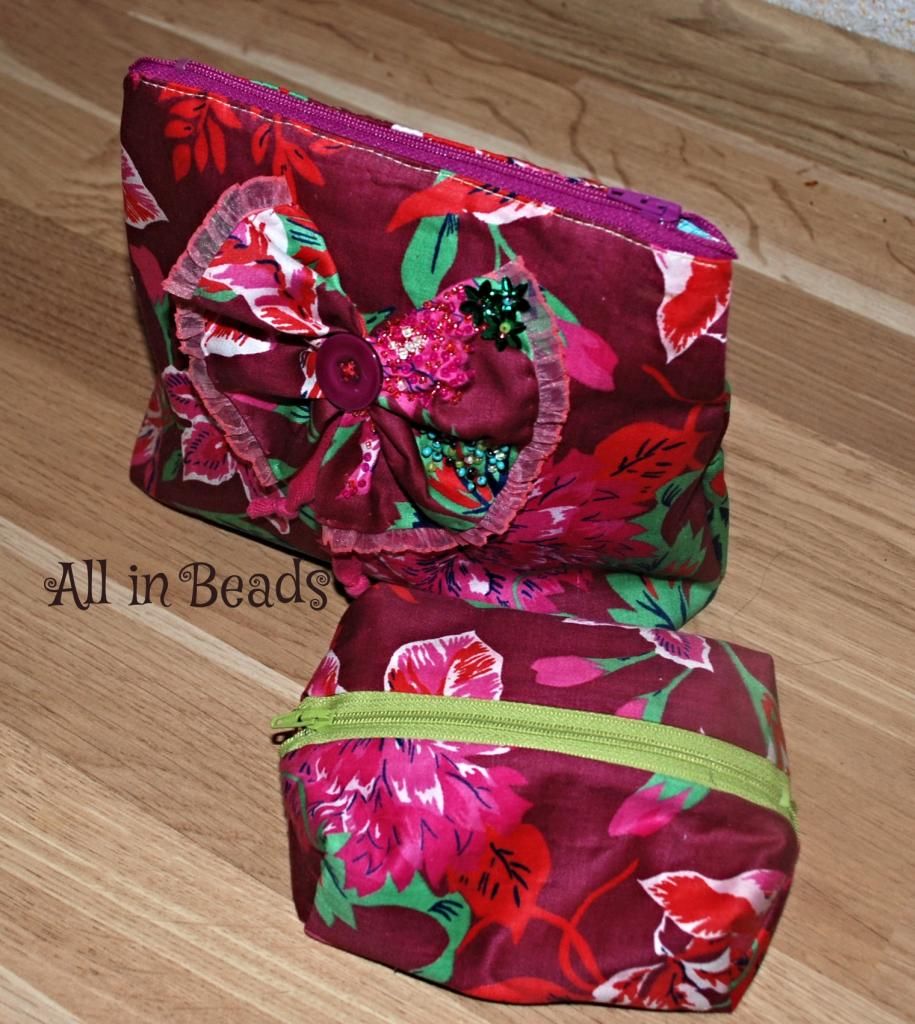
The gift for a relative, a warm hearted lady from Ventspils (I enjoy making/sewing gifts- as they are faster than bead work). My machine sewn make-up bags are made according to this pattern: easy flat bottomed make-up bag free pattern.
I used some beads, some sequins, ribbon and a button for decorating. I used a thin interfacing for both the outer and inner fabrics. The fabric was totally given to me, I mean a gift by my mum-in-law. ;D (It is pretty cool when you lay your hands on some free fabric)
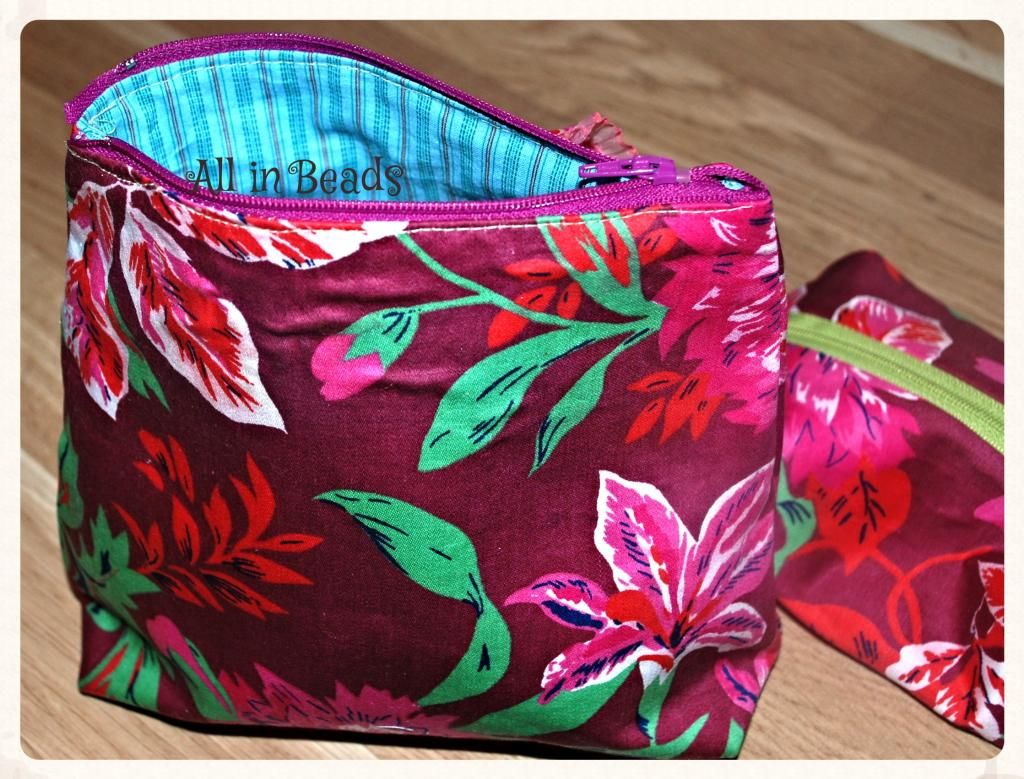
From the other side and the lining:
The front view:
The square bag tut is here: the square bag.
I would make something about the lining differently, I don't like that the sewing stitches can be seen, if you try, you will see
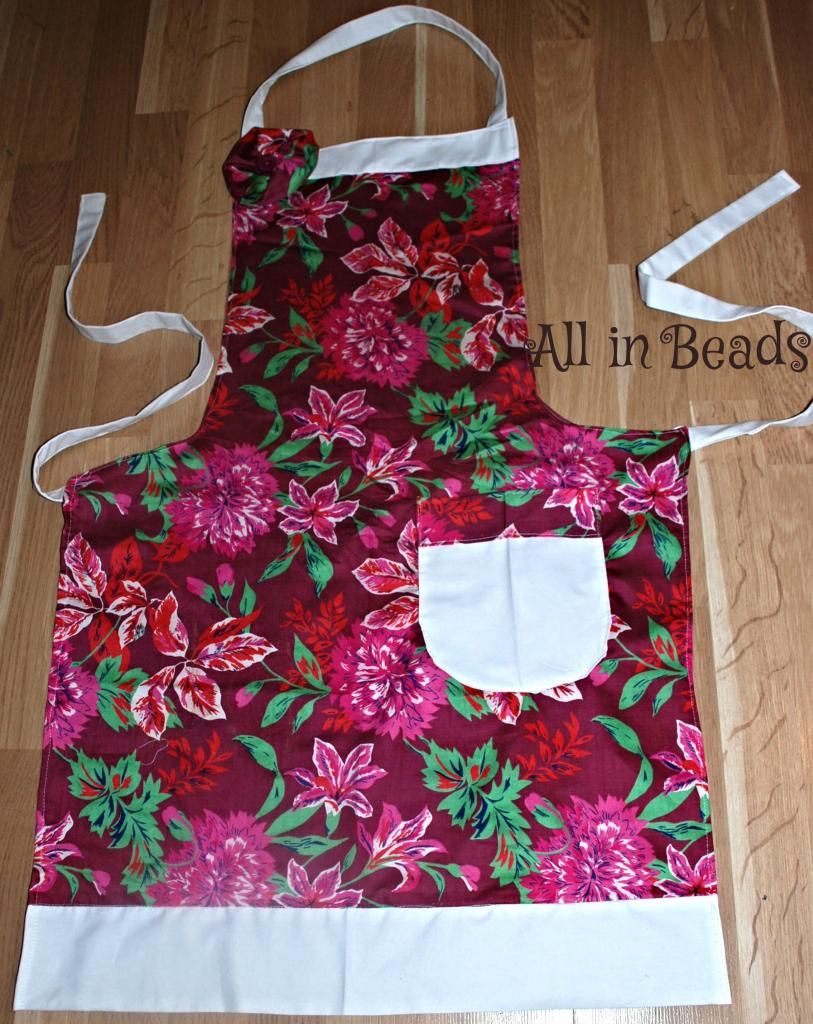
And here is the apron for another kind lady, from the same fabric:
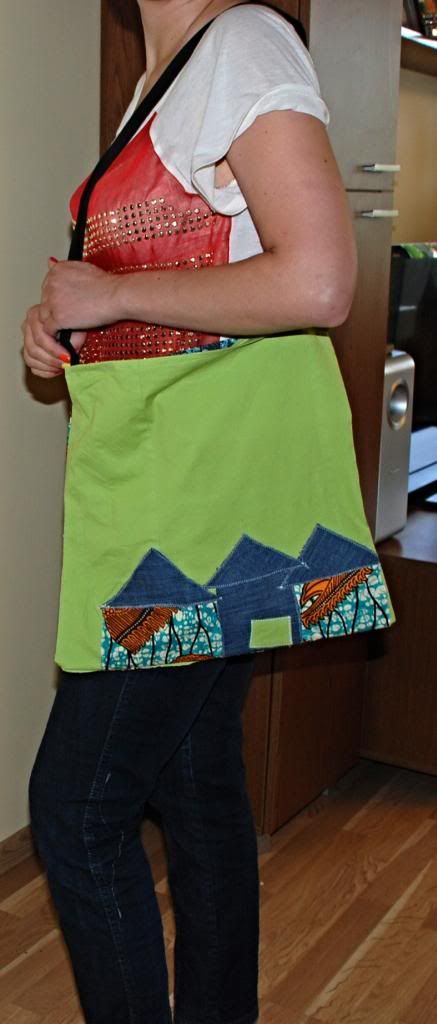
Here is some other sewing I have done:
From the other side (here I used some jeans scraps, an old unworn green shirt and its fabric belt):
Have you sewn anything during this month? Do you make something out of unworn clothes?
Gutukas
PS
Some pics from my trip to Turkey- mainly flowers ;)
The gift for a relative, a warm hearted lady from Ventspils (I enjoy making/sewing gifts- as they are faster than bead work). My machine sewn make-up bags are made according to this pattern: easy flat bottomed make-up bag free pattern.
I used some beads, some sequins, ribbon and a button for decorating. I used a thin interfacing for both the outer and inner fabrics. The fabric was totally given to me, I mean a gift by my mum-in-law. ;D (It is pretty cool when you lay your hands on some free fabric)
From the other side and the lining:
The front view:
The square bag tut is here: the square bag.
I would make something about the lining differently, I don't like that the sewing stitches can be seen, if you try, you will see
And here is the apron for another kind lady, from the same fabric:
Here is some other sewing I have done:
From the other side (here I used some jeans scraps, an old unworn green shirt and its fabric belt):
Have you sewn anything during this month? Do you make something out of unworn clothes?
Gutukas
PS
Some pics from my trip to Turkey- mainly flowers ;)
Sunday, February 23, 2014
Sewing adventures- the little ones
Hi a short post for my sewing endevours- I have made the cap- using the pattern- if somebody would like I could make a tutorial. Though the winter is flying away rapidly (the sunshine and even the bird songs today at the end of February were so soothing and so promising that spring is finally coming soon). Yet a cap can always be of use. Of course hard to resist decorating ;) All in studs.

I have decorated daughter's jumper - just a simple stork applique- I love appliques. The unsuccessful project....
And lastly i have made a collar fro an old tie- could be fastened with any pin :)
Some bibs I have sewn recently for a baby boy:
Have fun ;)
Gutukas
Monday, January 20, 2014
DIY mittens with bead decorations + a keychain
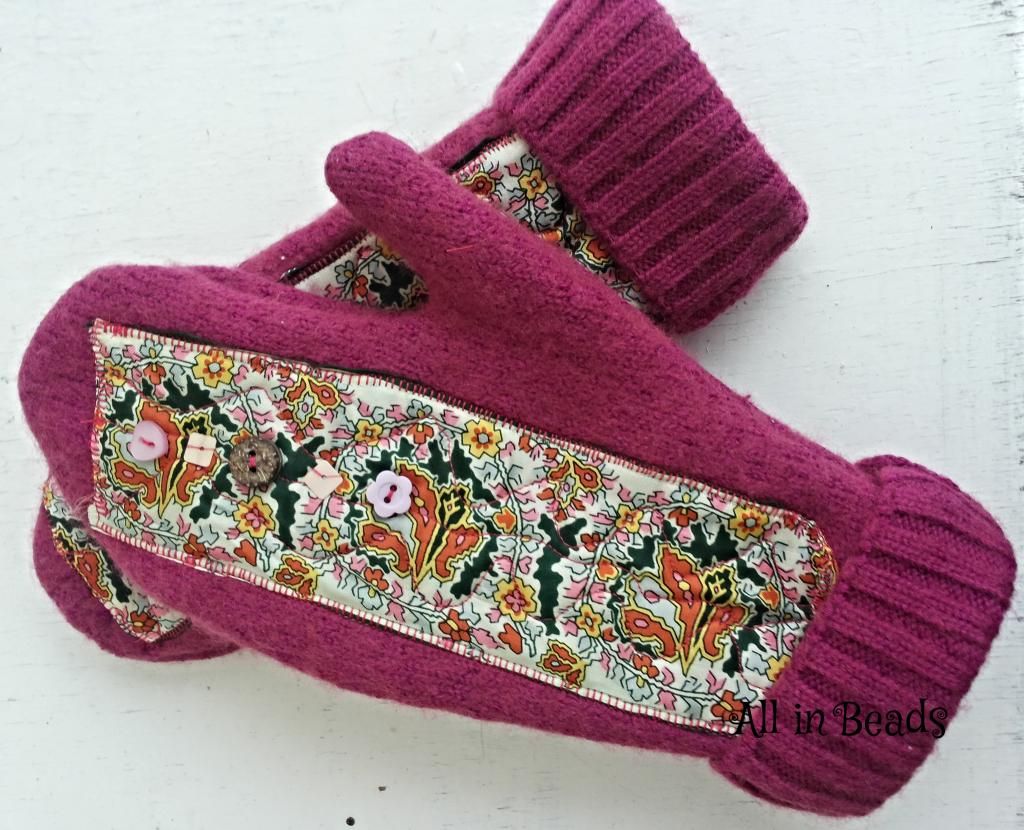
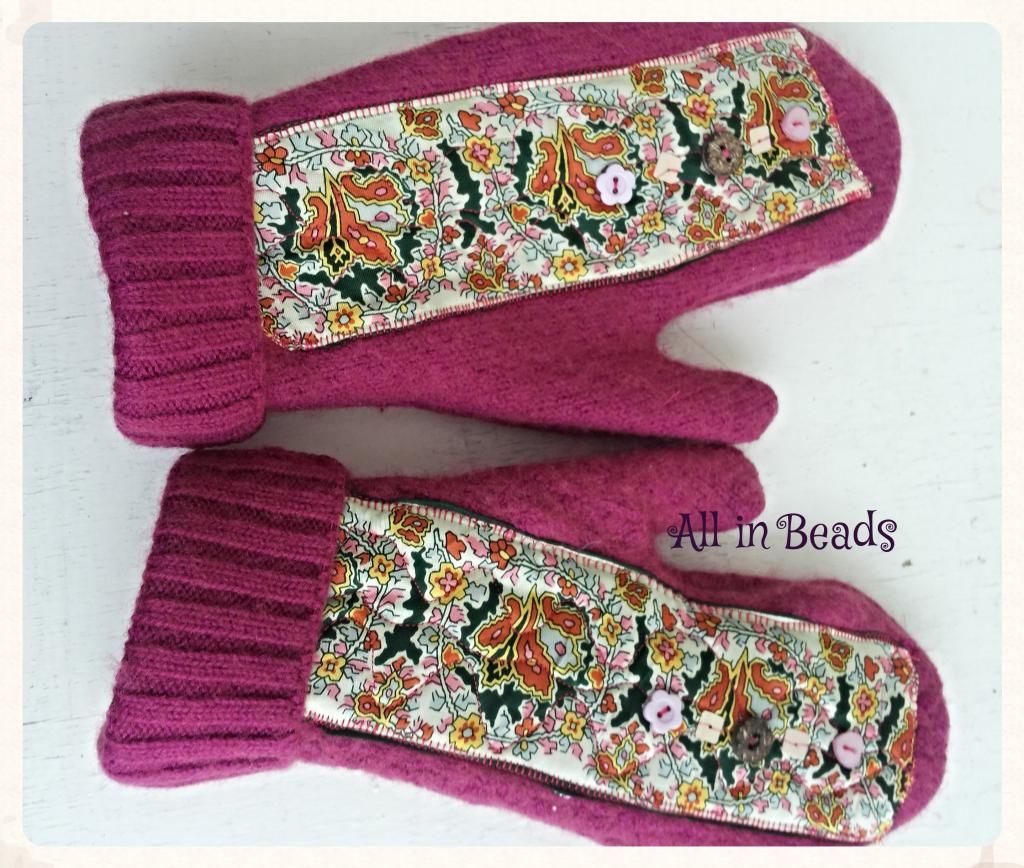
Hello, just one more quick update on my sewing adventures ;) I have made two pairs of mittens out of an old thrifted and washed sweater (one for me and for the friend as a gift)- do they look like oven mits? :D I hope notttt.... I like my mits as they are beautifu and hopefully I won't loose them because I am always loosing gloves ... all over the place ;)
It was quite easy I used my old mit as a guide, made it bigger. Although the fabric isn't exeptionally good as there is only 30 per cent of wool- but it has been my first try ;)
I have cut the shape used the hem of the sweater as the natural end- if you will be doing remember to leave the ends longer- it is much cosier for your wrists ;)
So here are some more pics of the process :)
Have fun with your diy - have you made mits out of an unwanted sweater?
G. ;)
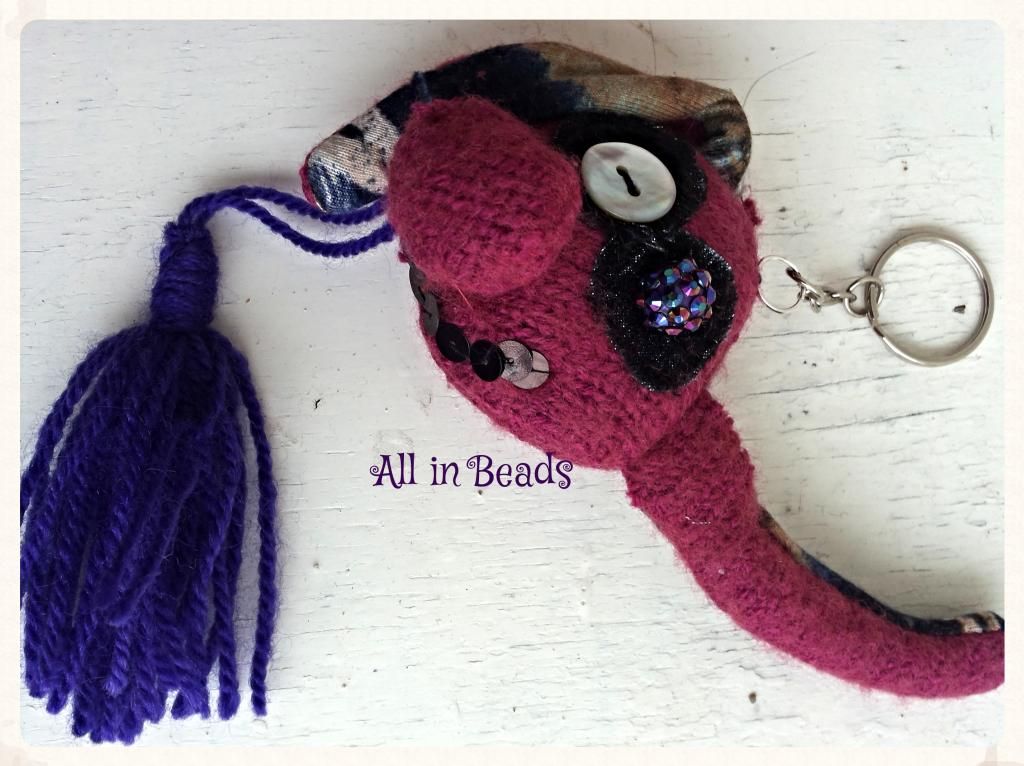
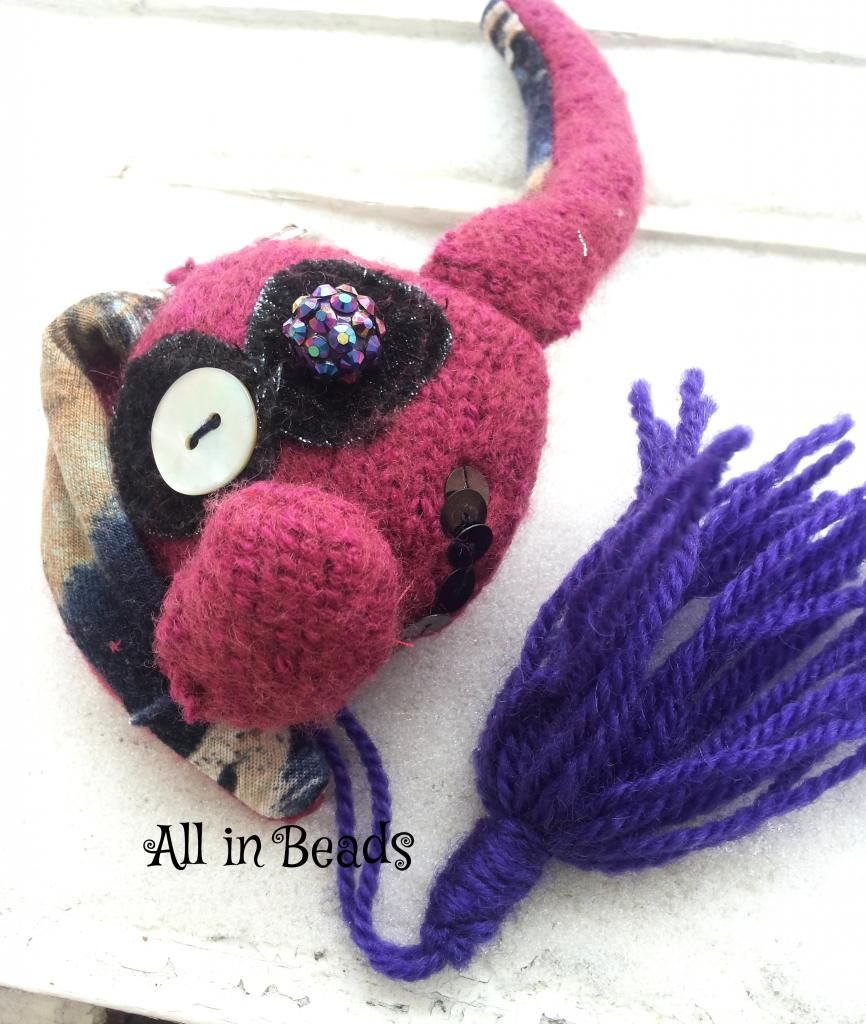
PS from the same sweater there appeared a cute keychain rabbit- quite crazy looking one- very assimetrical ;)
Saturday, January 11, 2014
Owl pincushion sewing tutorial
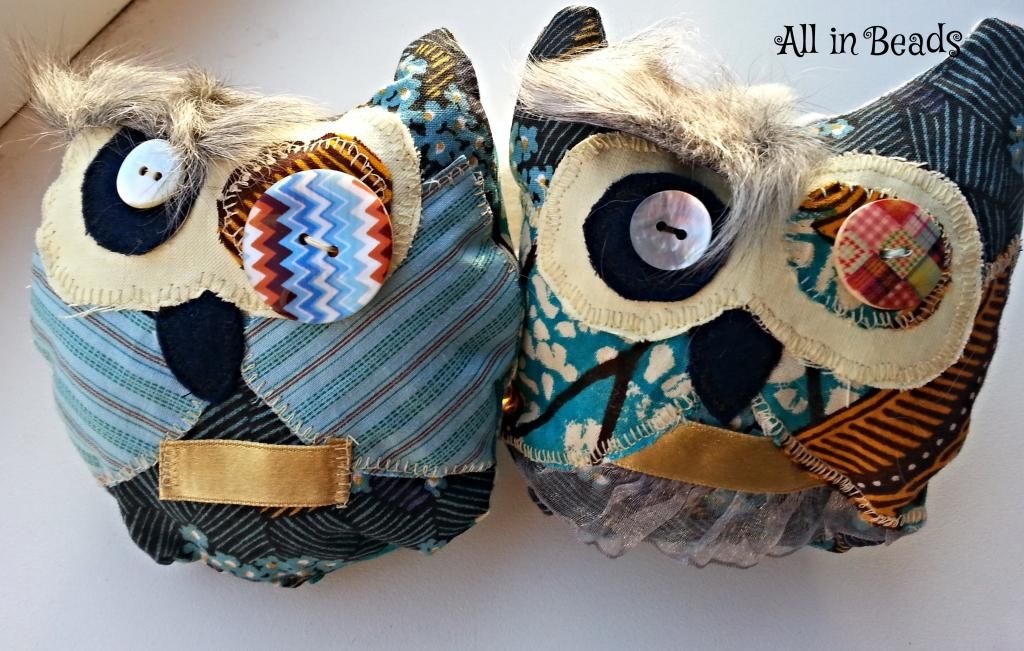
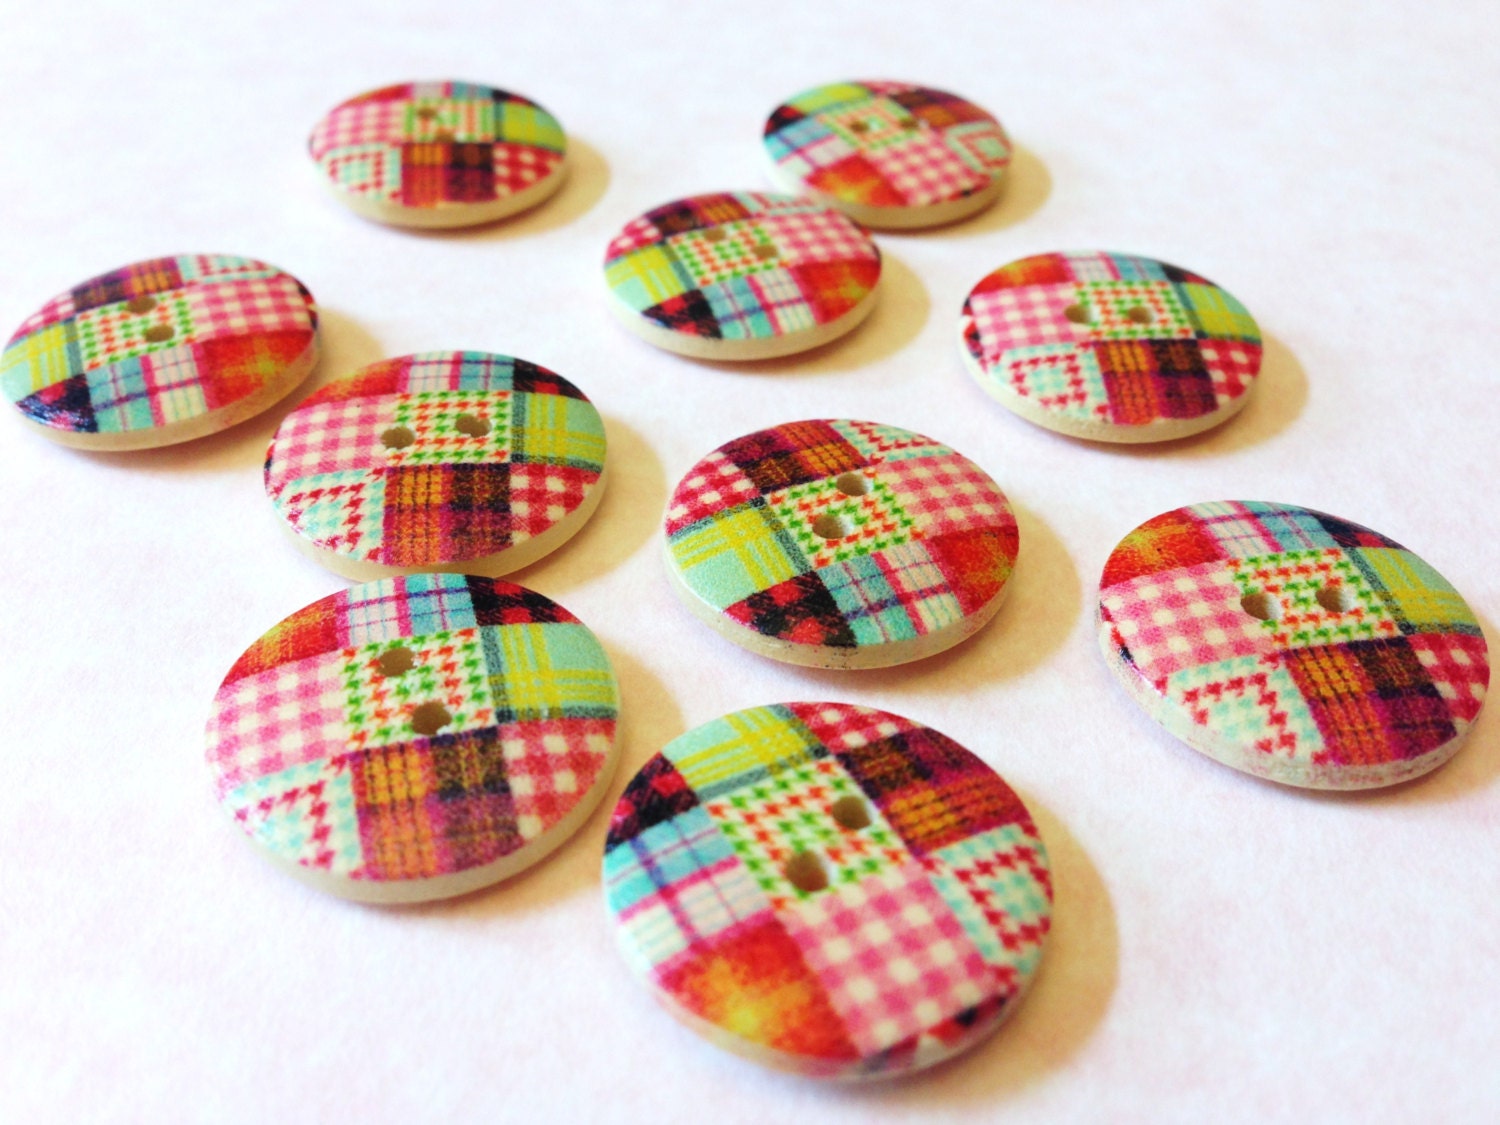
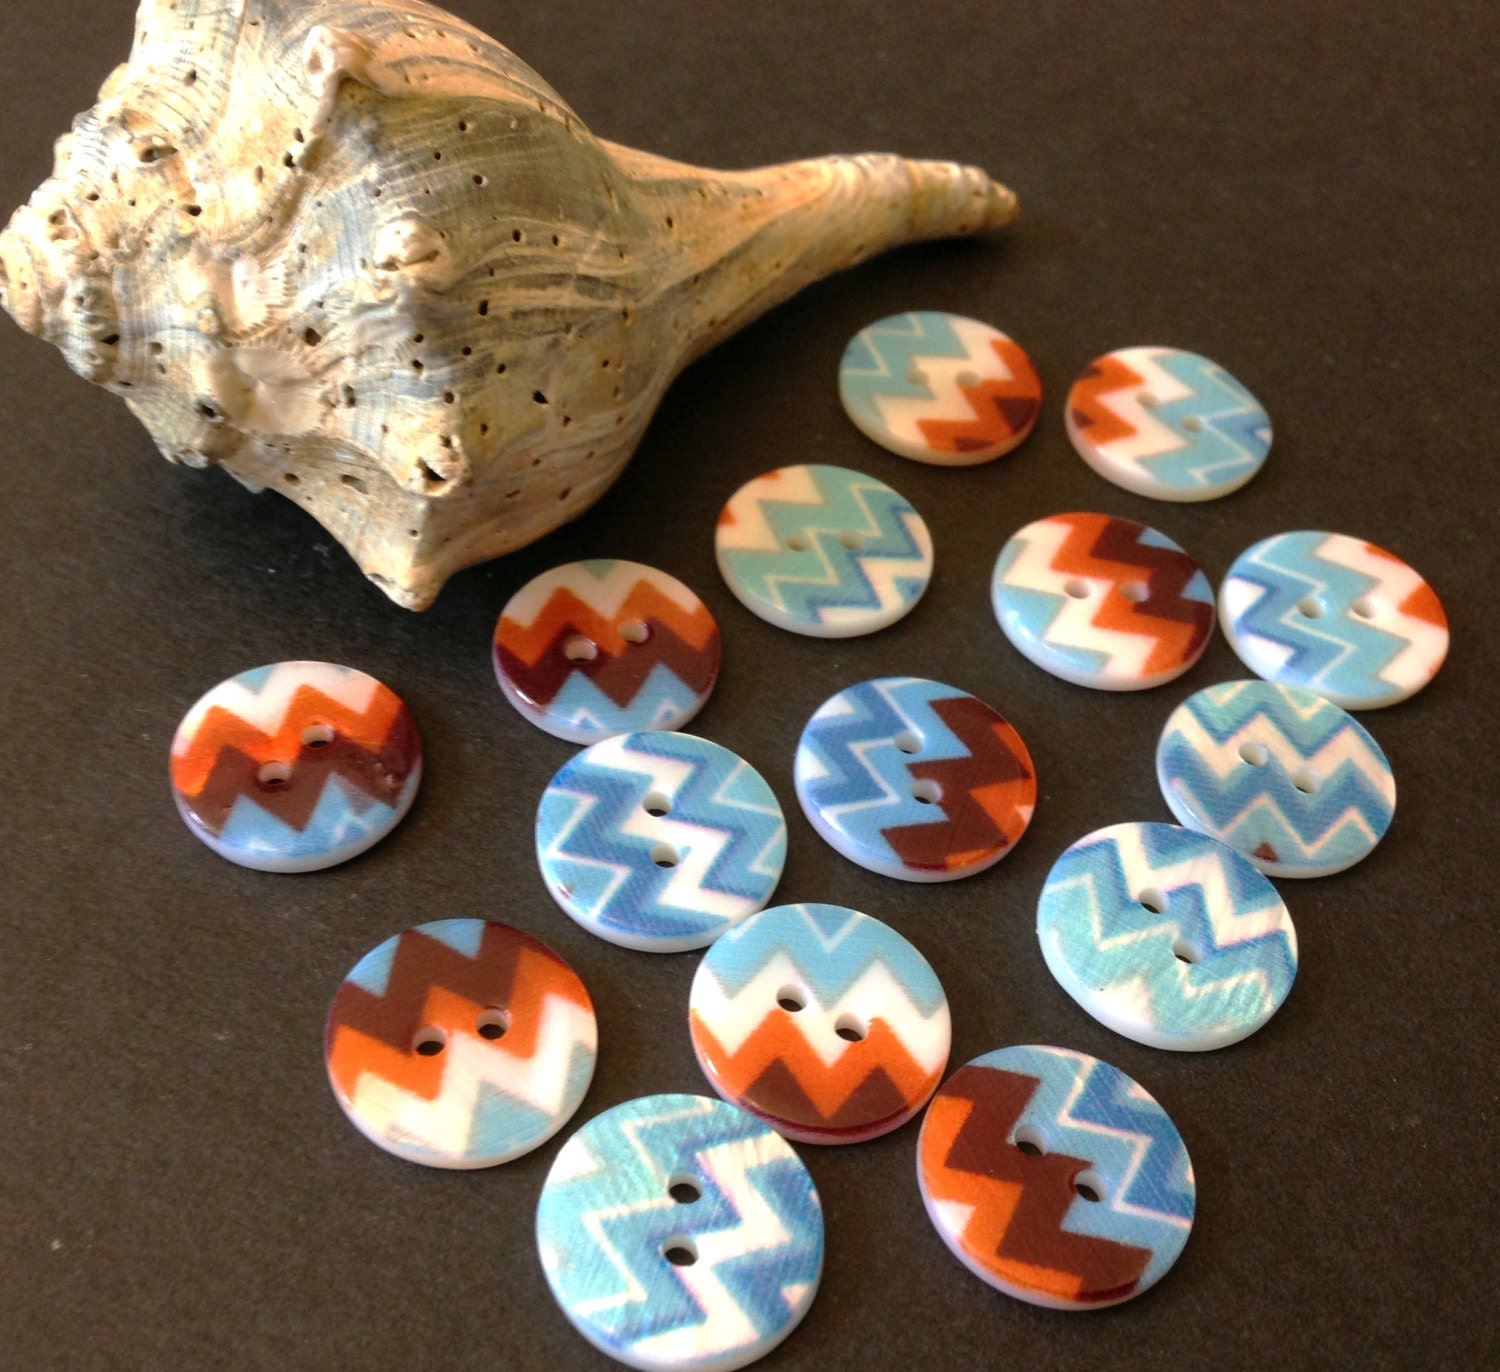
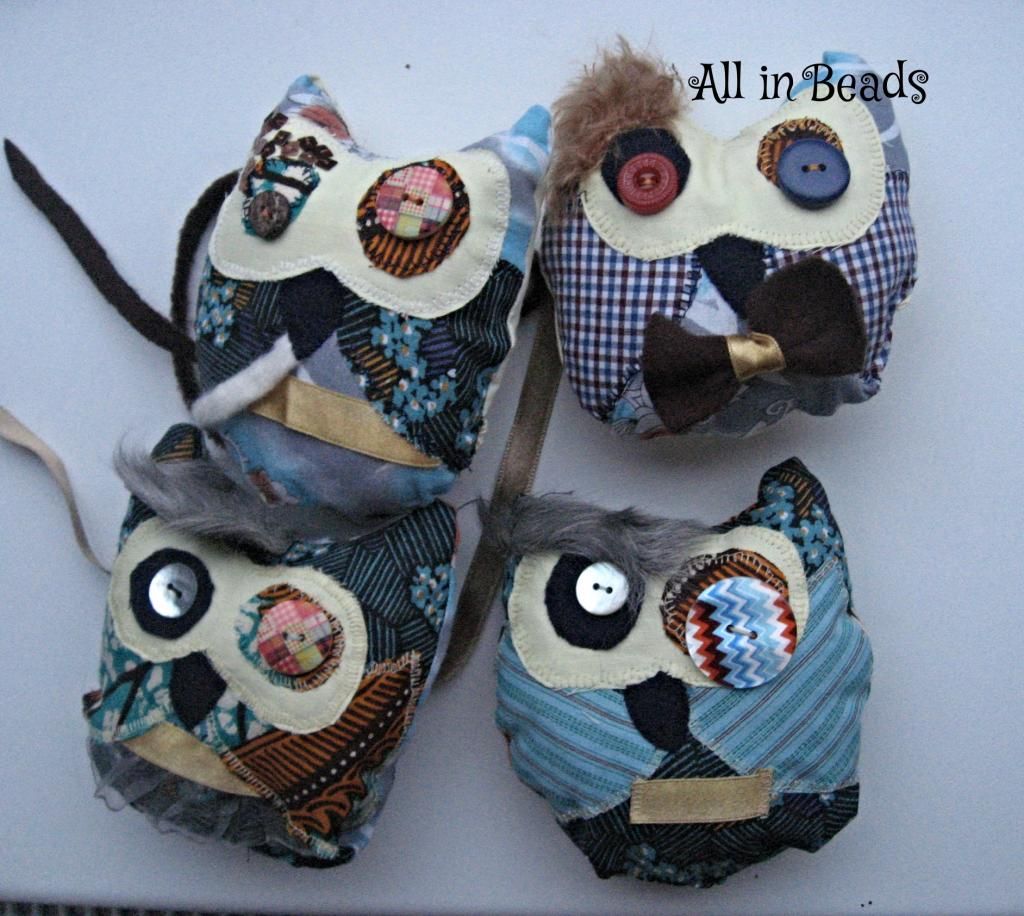
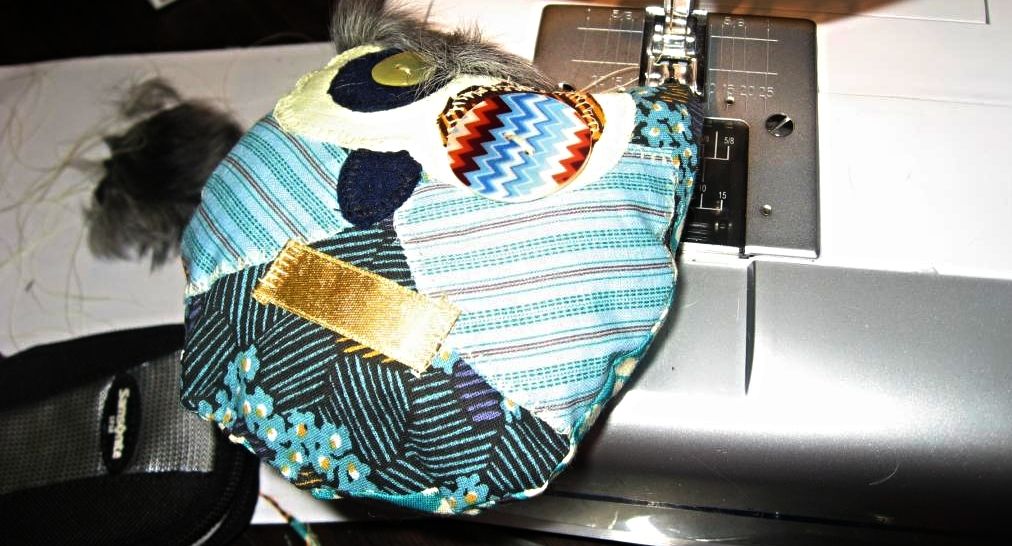
I have created these owl pincushions from different fabric pieces, just kept of course in the same colour family of blue, yellow and orange (and three more like that and want to share how I did it). The colourful wonderful buttons were kindly given by kandcsupplies . For some owls I had used these:
| from kandcsupplies (patchwork pattern wooden buttons) |
| from kandcsupplies (Small mother of pearl buttons with Chevron pattern) |
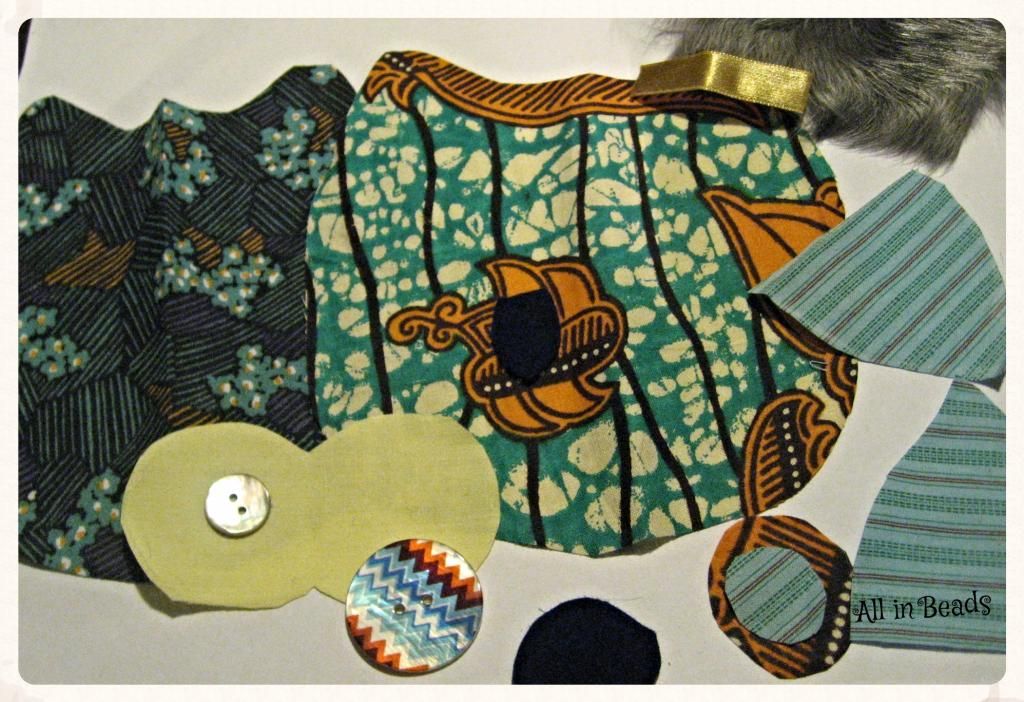
- fabrics
- buttons
- stuffing
- sewing kit
- ribbon, fur (for decoration)
- a sewing mchine (might do without)
Iron your fabrics very very well and cut out acording to the pattern you have drawn, I was inspired by the owl on the plate..
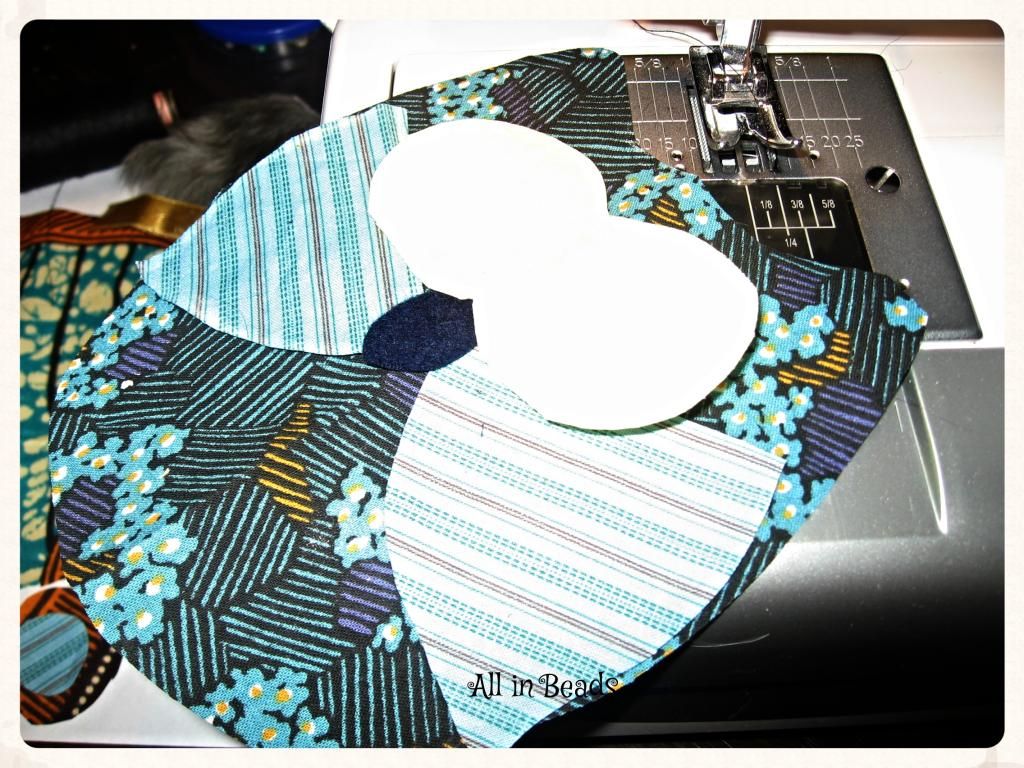
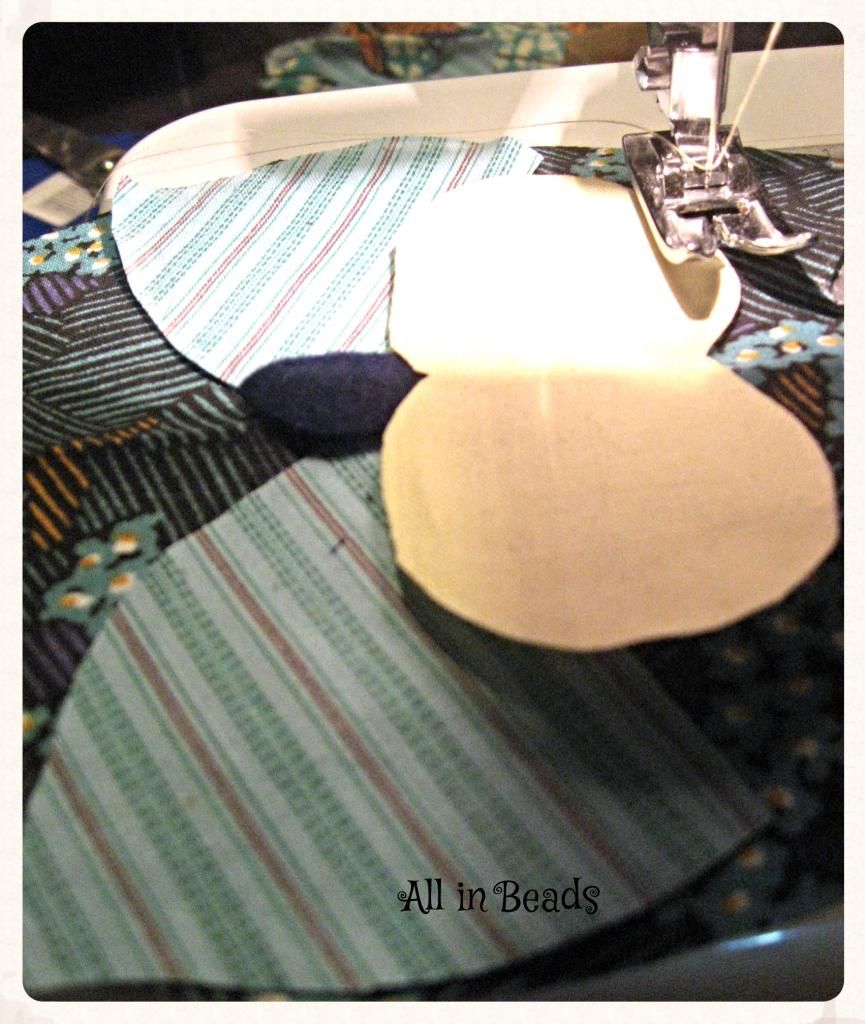
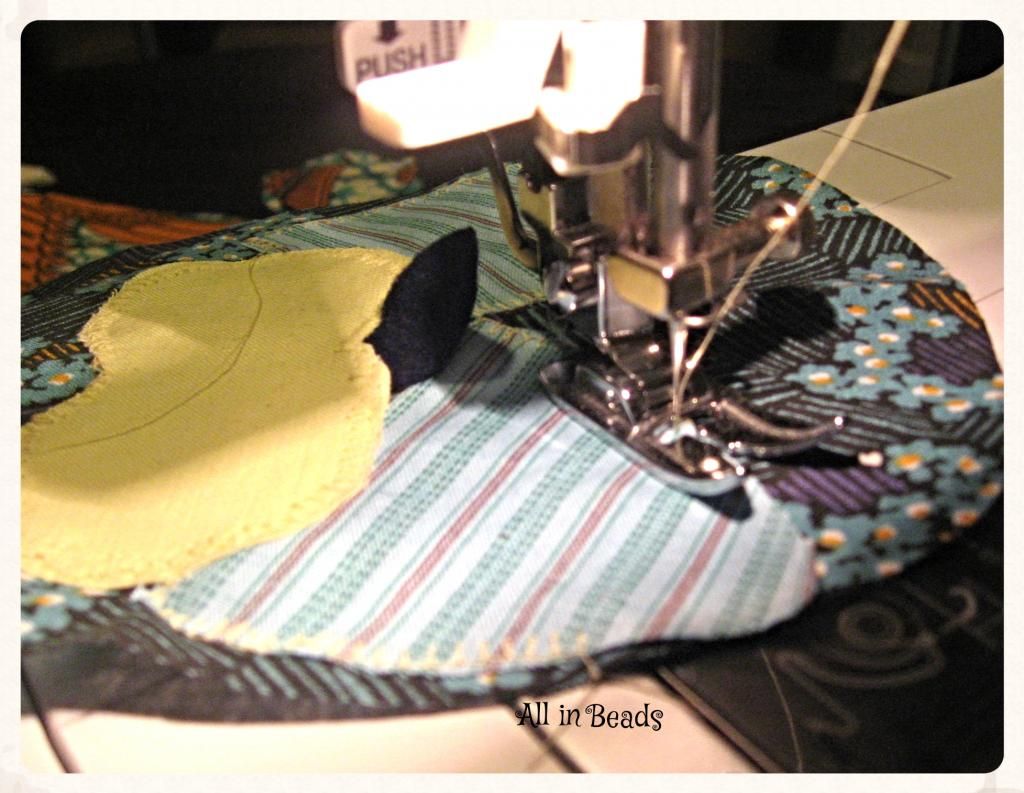
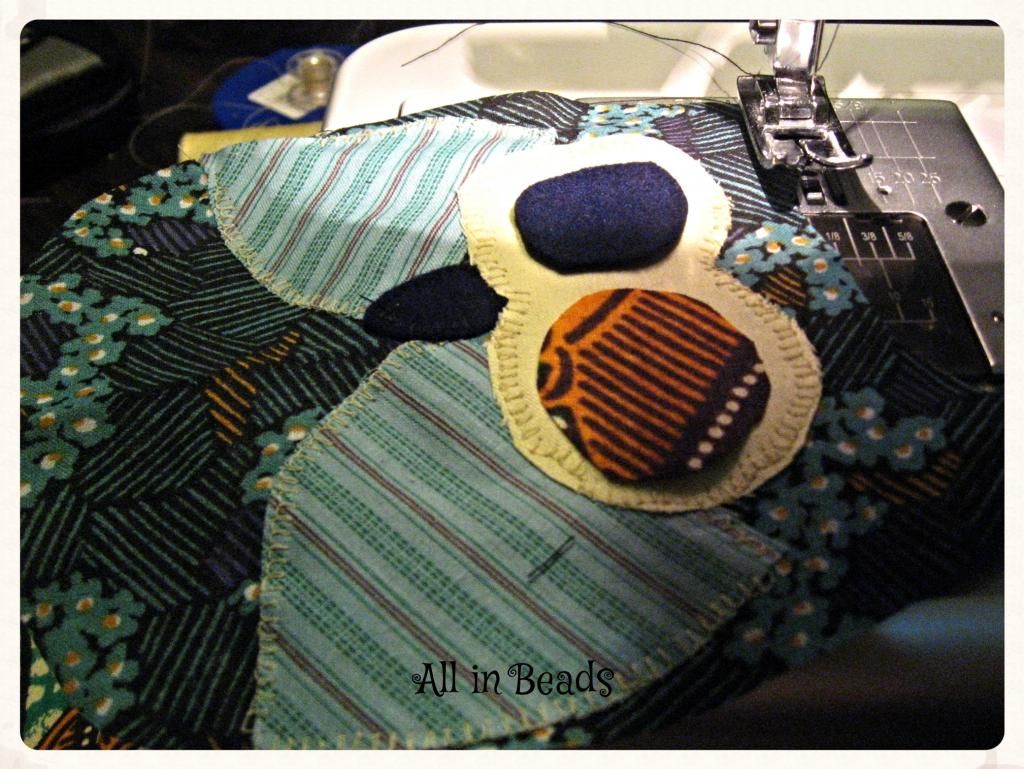
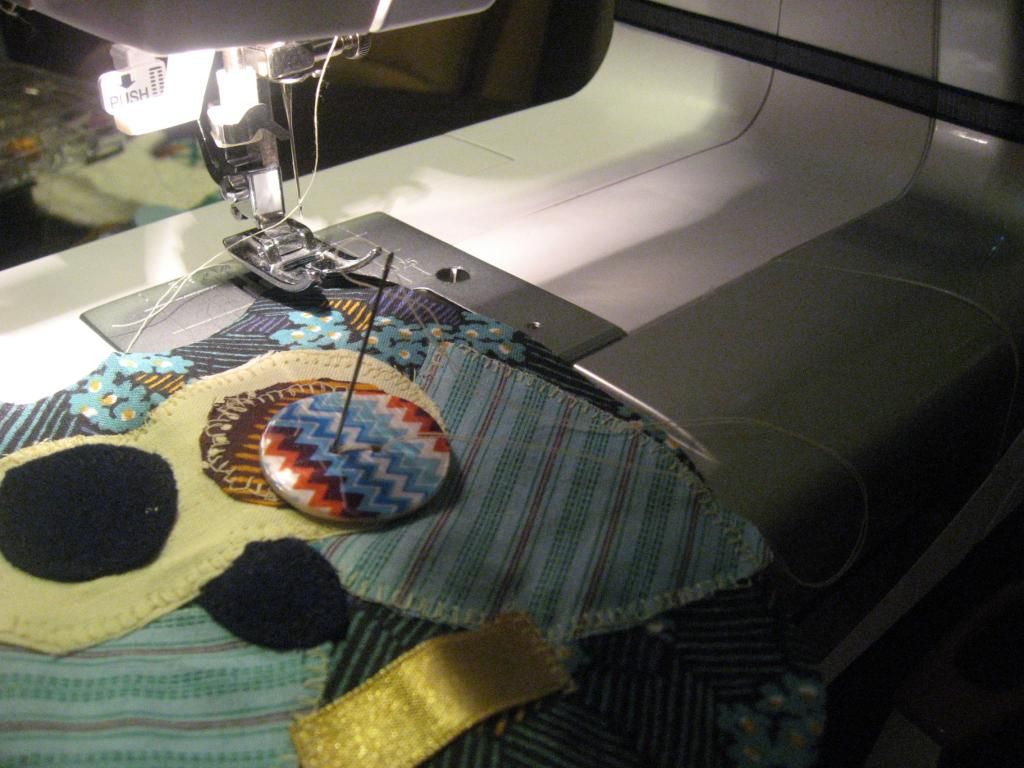
Take the body part, place bigger eyes, a beak and wings, sew around the eyes capturing a part of wings and a beak details placed under use the quilting stich like for an applique:
The result is like this:
Put the right sides together of the body parts front and back sew together very well go over twice :)
Place the little fur between the body parts:
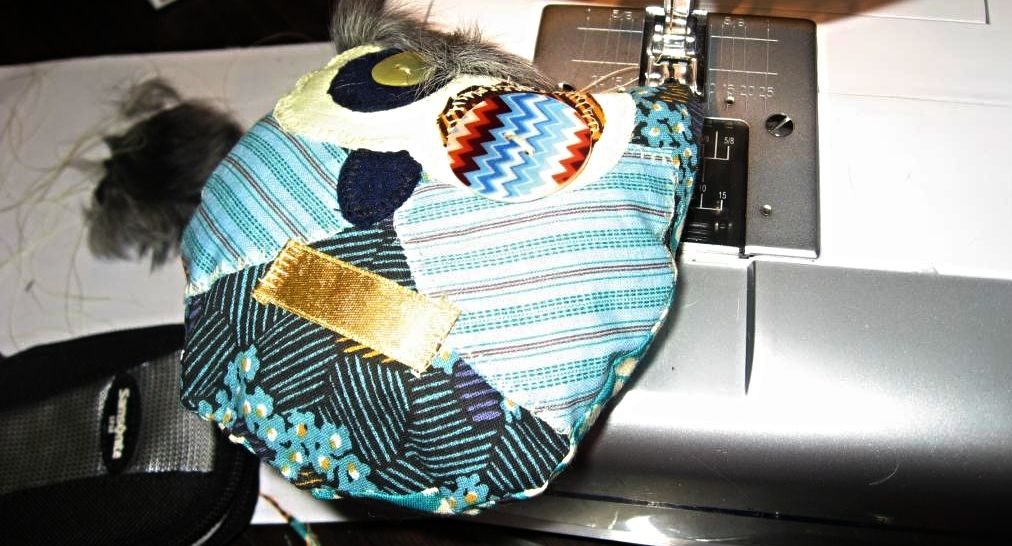
Leave a small part unsewn for the tuning inside out, and stuff your owl well :)
Sew the remaining gap with invisible seam ;)
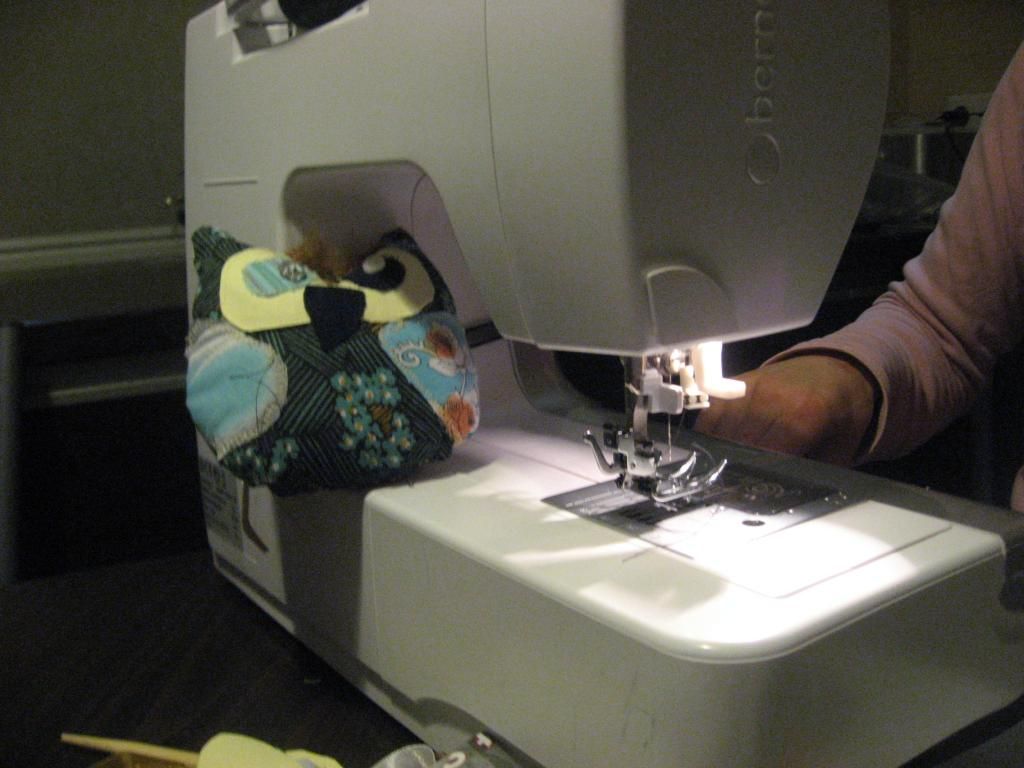
The result is something like this and you might use your pincushion tied around your sewing machine.
So have a nice time sewing your pincushion ;)
Gutukas (All in Beads)
Subscribe to:
Posts (Atom)