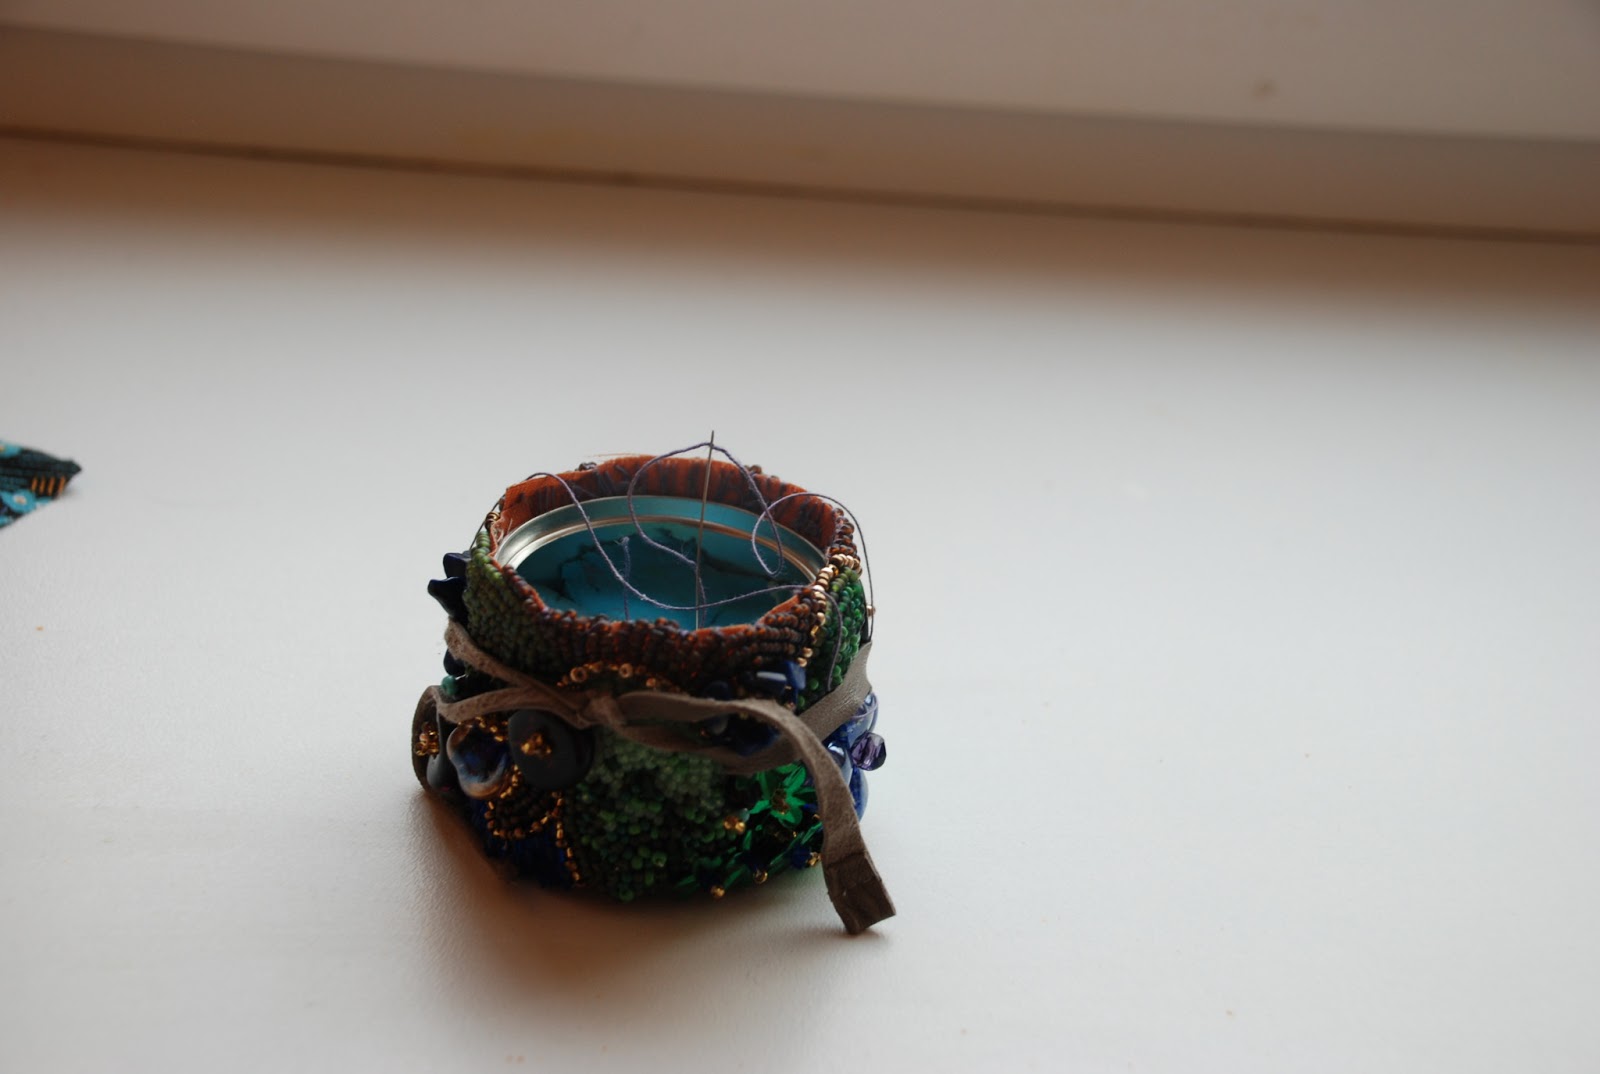
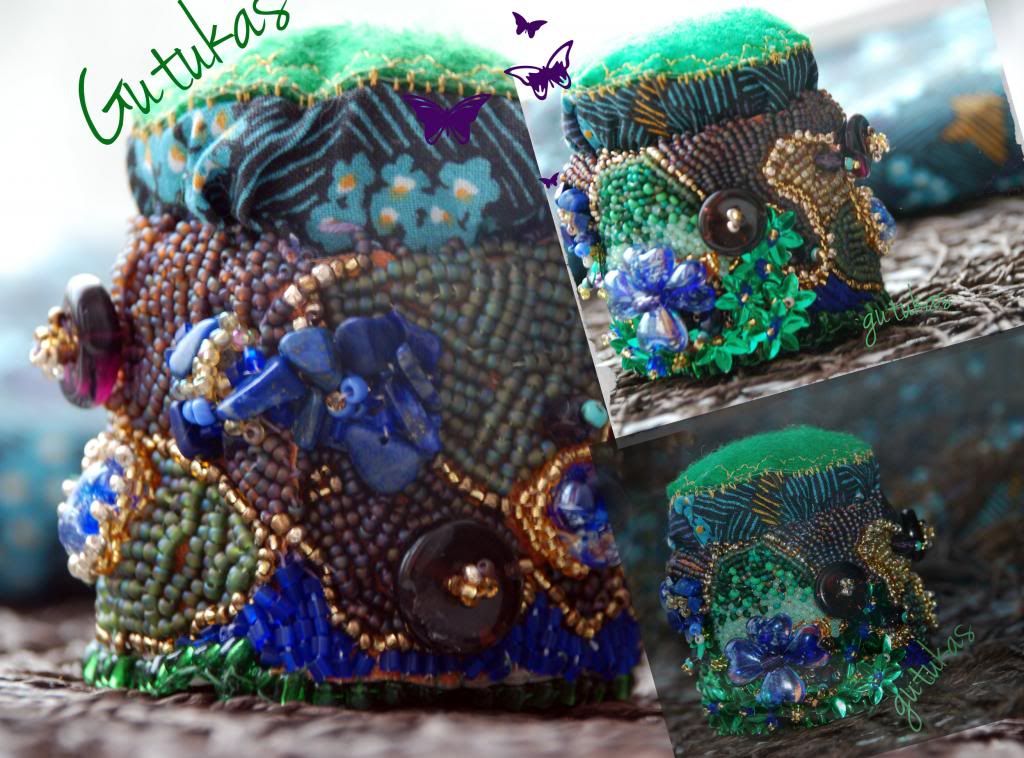
I have made another of the lovely pincushions. I extremely like making them. It is my first one. This one is for tacklethatbeadstash JANUARY CHALLENGE.
I don't know if it will suit because it is not jewellery. The colours are blue, gold, green and purple. I have used 12 kinds of seed beads, some sequins and some glass beads :)
How do I make them:
You need:
Then embelish a piece of material with bead embroidery, or croos stich embroidery whatever your fantasy is up to on that day :)
After that fill your container with something for heaviness- a pebble for example.
Surround your container with the material and sew it together, I glue it to the container, as well for extra strength and durability. I wrap it with a string for hardening.
Sew your scrap however you want- you can take a matchy matchy material ;) or a cpontrasting colour.
Wrap a piece of cotton with it and sew together underneath.
Put it onto the contaiiner sew together, fill the litle gaps with beads if necessary. I also embelish the bottom with leather sew around with beads for neatess.
And here is the finished pincushion.
Happy beading ;)
G.
PS Now piblished in Totally Tutorials ;) .
 |
| Taken from Operation tackle that bead Stash |
I don't know if it will suit because it is not jewellery. The colours are blue, gold, green and purple. I have used 12 kinds of seed beads, some sequins and some glass beads :)
How do I make them:
You need:
- a small container
- a pebble (something heavy)
- some kids' dough (or a scrap of newspaper)
- some cotton
- a scrap of material (can sew before hand, can be appliqued)
- a bead embroidered piece
- scissors, a needle, some leather :)
After that fill your container with something for heaviness- a pebble for example.
Surround your container with the material and sew it together, I glue it to the container, as well for extra strength and durability. I wrap it with a string for hardening.
Sew your scrap however you want- you can take a matchy matchy material ;) or a cpontrasting colour.
Wrap a piece of cotton with it and sew together underneath.
Put it onto the contaiiner sew together, fill the litle gaps with beads if necessary. I also embelish the bottom with leather sew around with beads for neatess.
And here is the finished pincushion.
Happy beading ;)
G.
PS Now piblished in Totally Tutorials ;) .


I LOVE this - THANK YOU for sharing the "how to", so I can make one (at least) for myself! Happy Sunday - Tanya
ReplyDeleteI am very glad that you visit me and you liked the pincushion.Inga. :)
DeleteReally wonderful!
ReplyDeleteThanks I am very glad that you liked it :)
DeleteHi Inga,
ReplyDeletevery nice..I like your pincushion.
Thank you for tutorial...
Greatings from Germany,
Klaudia
http://klaudias-kreativ-world.blogspot.com
Thanks Klaudia, for viditing I am very happy that you found time :0)
Delete