
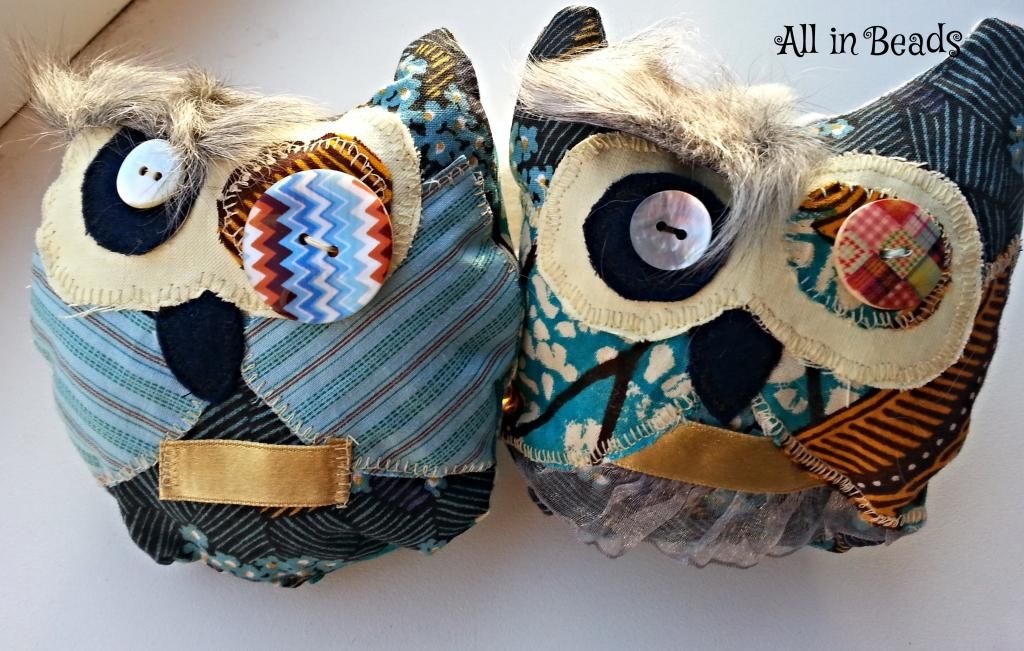
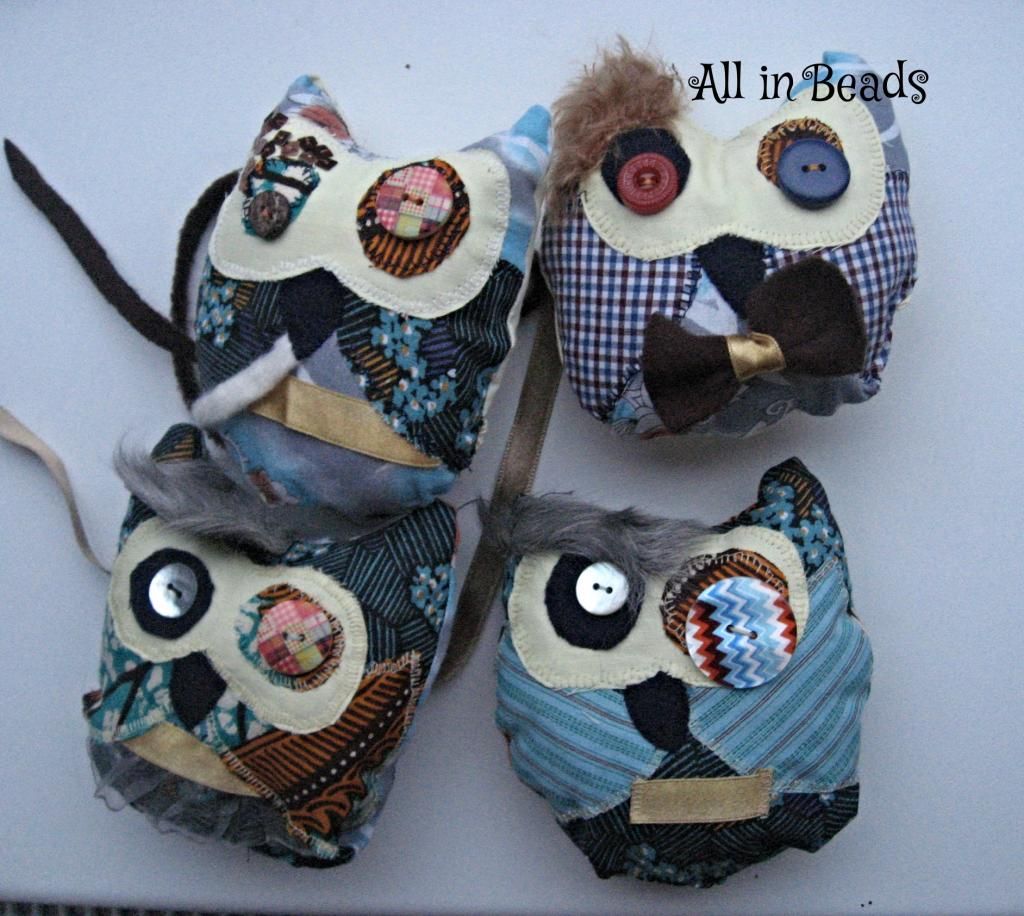
I have created these owl pincushions from different fabric pieces, just kept of course in the same colour family of blue, yellow and orange (and three more like that and want to share how I did it). The colourful wonderful buttons were kindly given by kandcsupplies . For some owls I had used these:
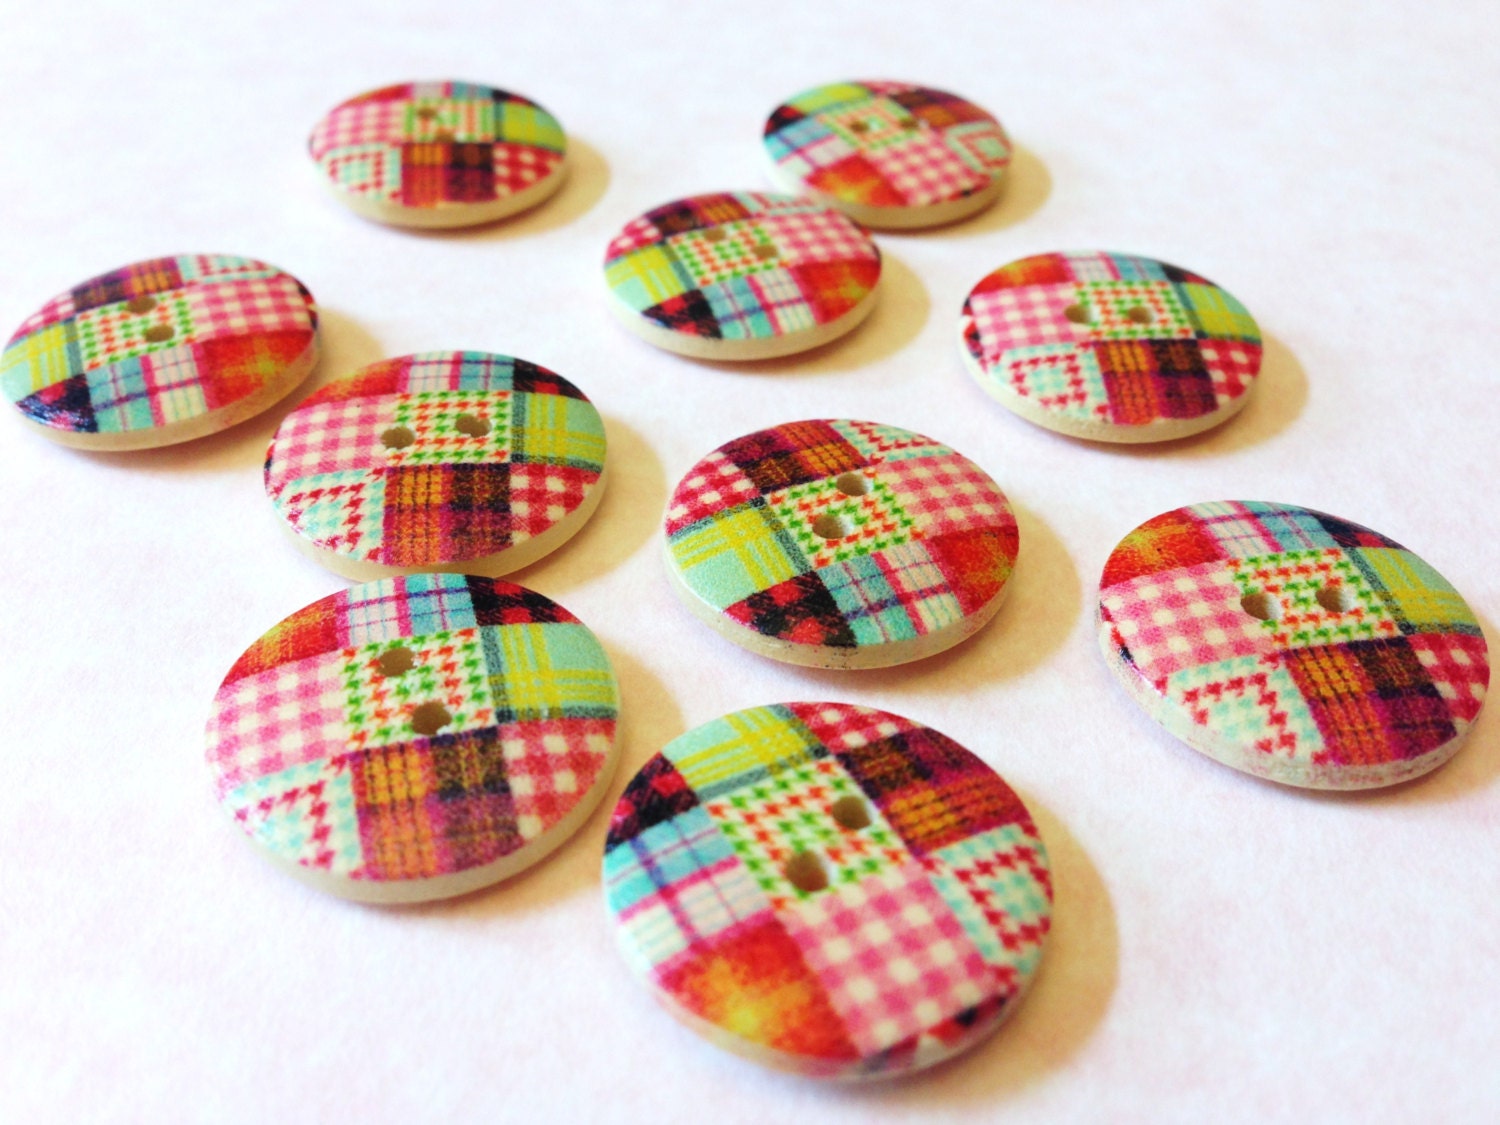 |
| from kandcsupplies (patchwork pattern wooden buttons) |
 | |
| from kandcsupplies (Small mother of pearl buttons with Chevron pattern) |
- fabrics
- buttons
- stuffing
- sewing kit
- ribbon, fur (for decoration)
- a sewing mchine (might do without)
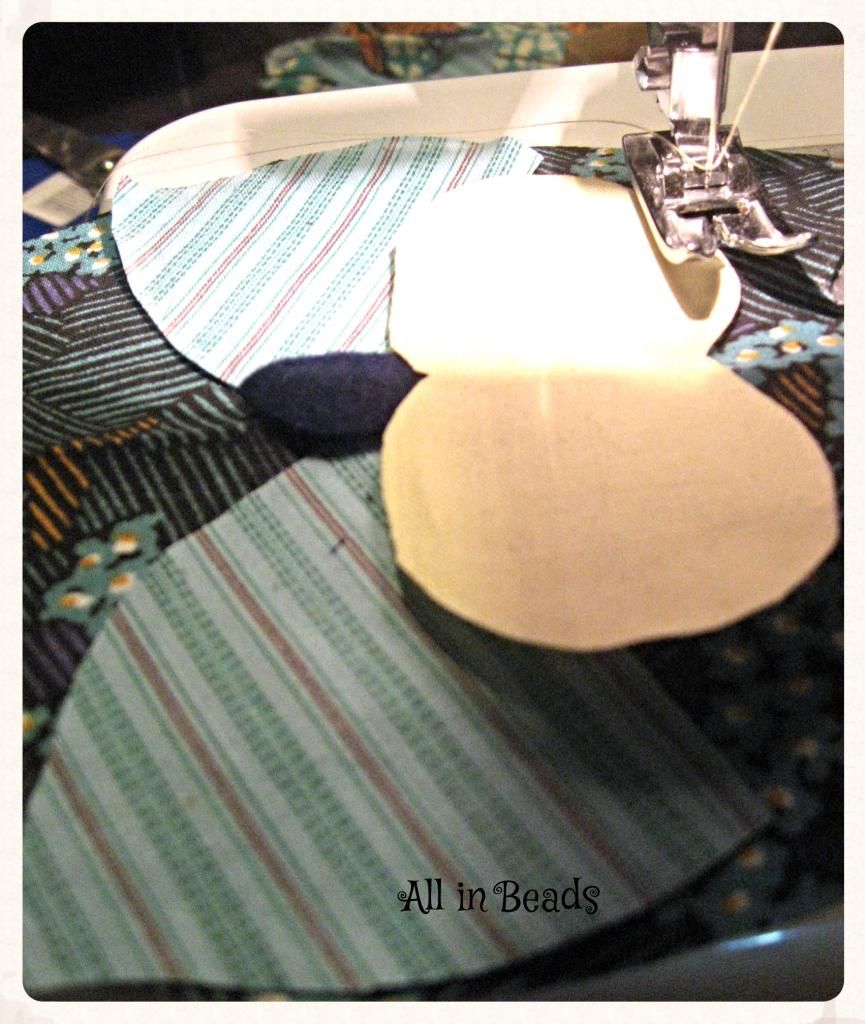
Iron your fabrics very very well and cut out acording to the pattern you have drawn, I was inspired by the owl on the plate..
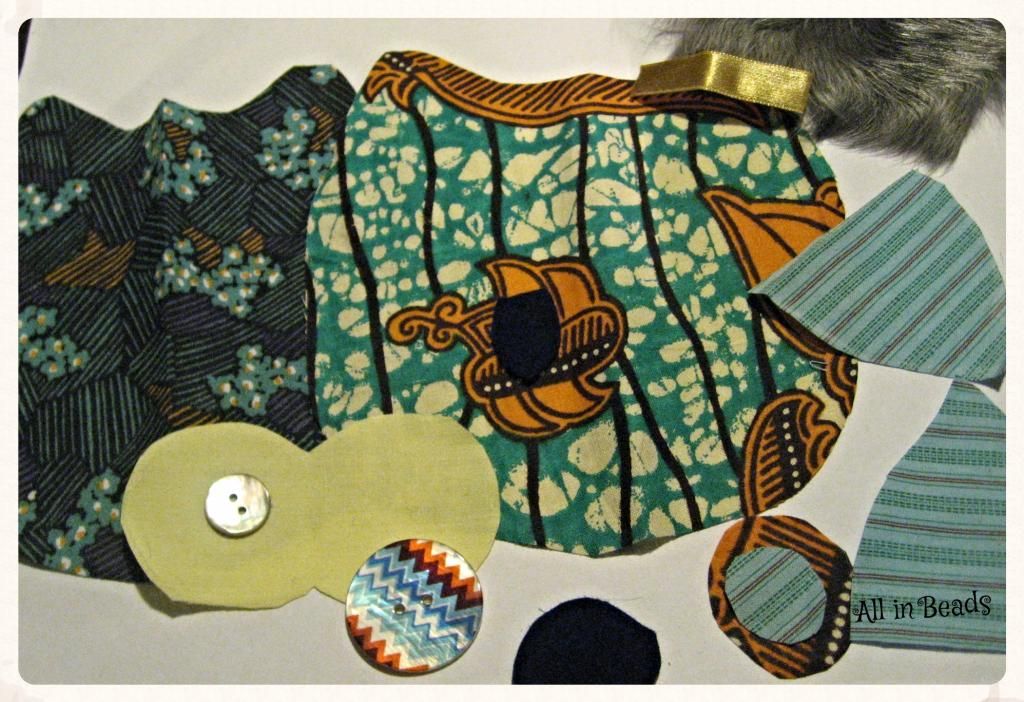
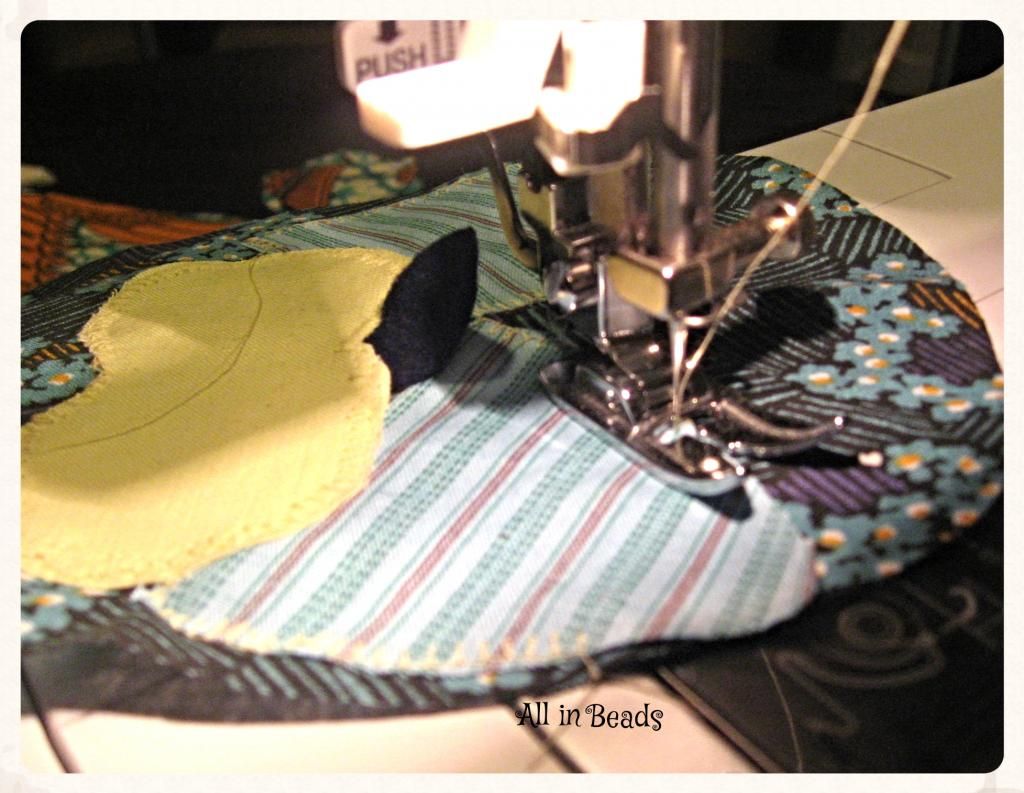
Place the eye details, sew around:
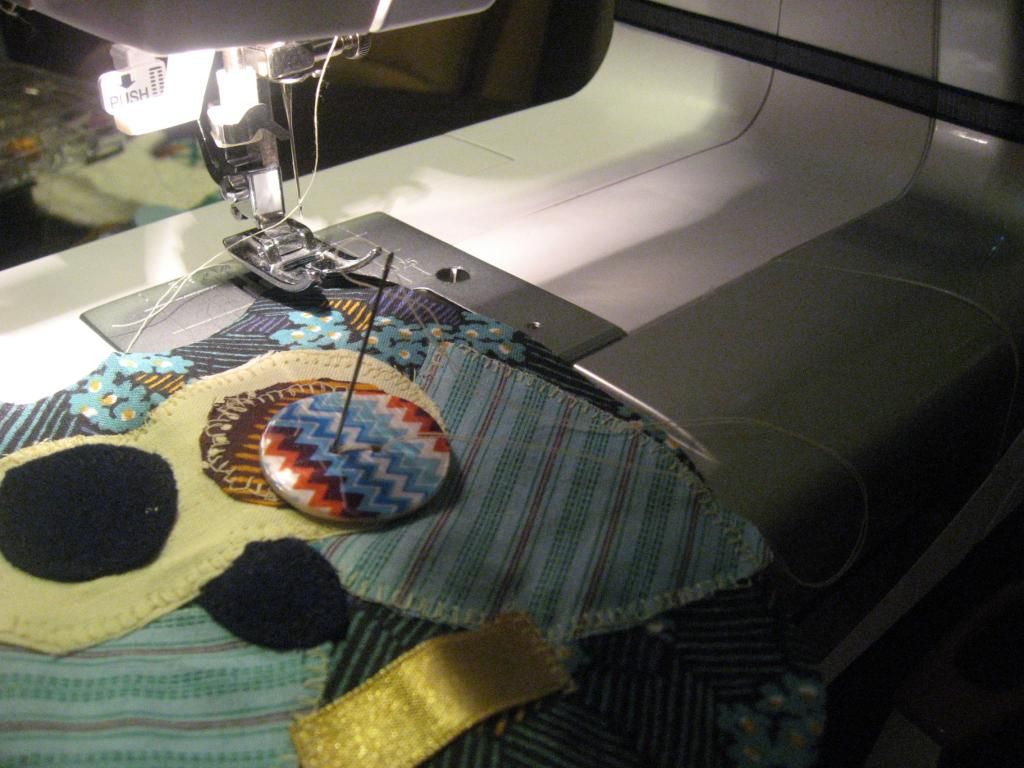
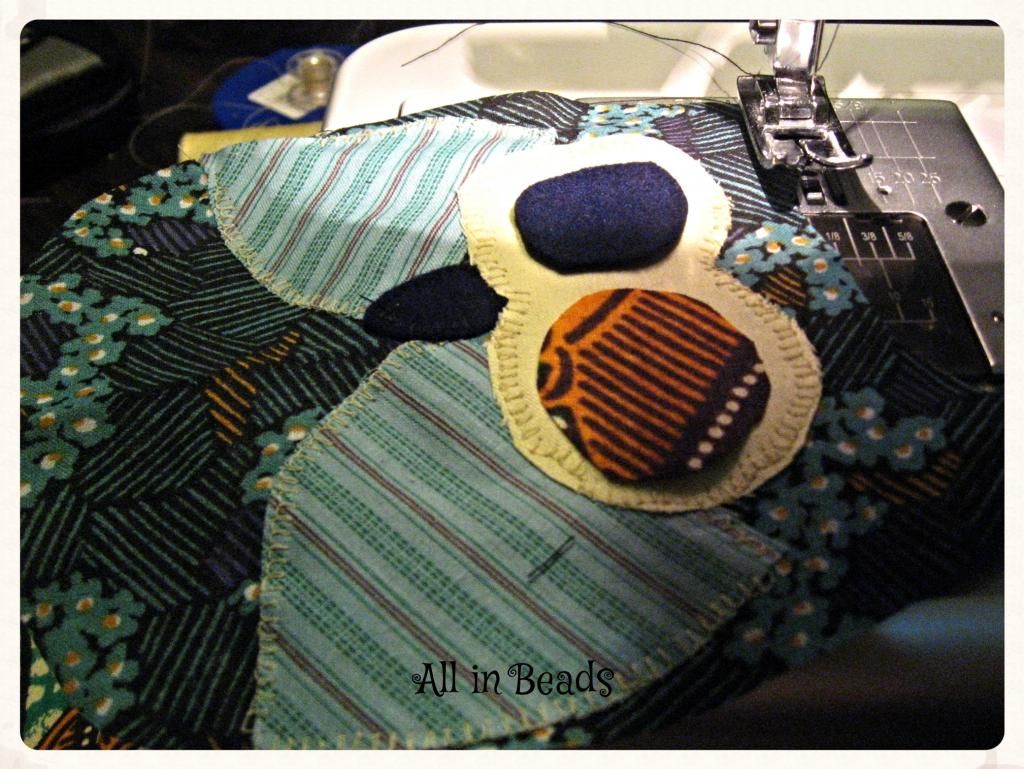 Sew the buttons of your choice for eyes
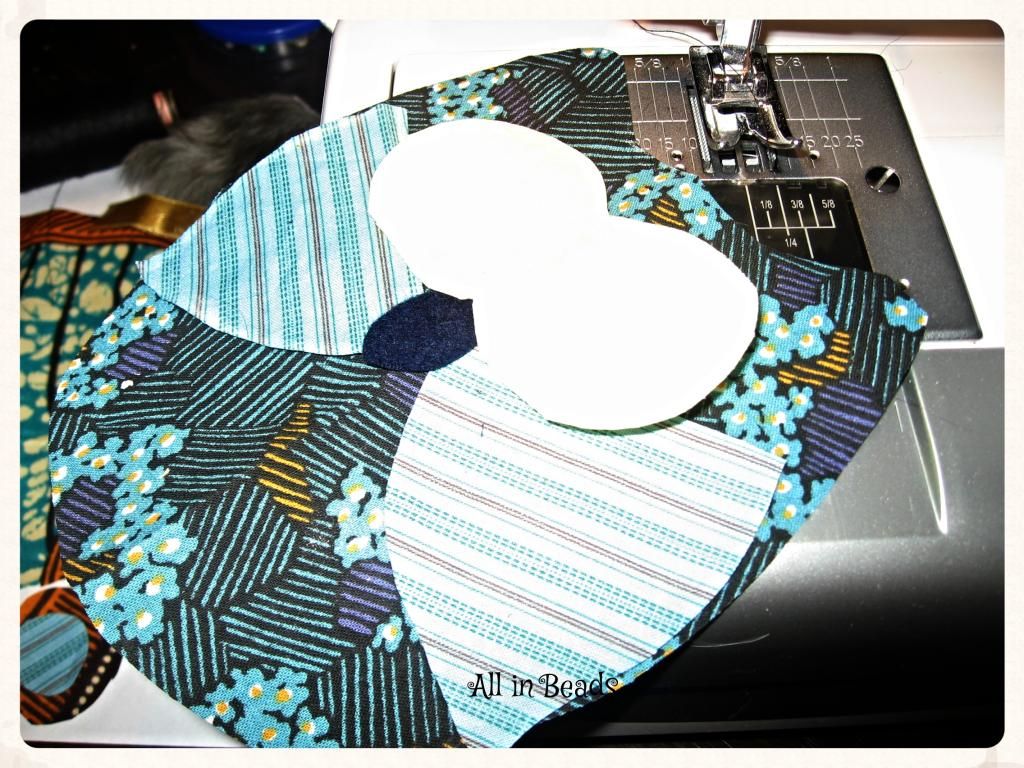
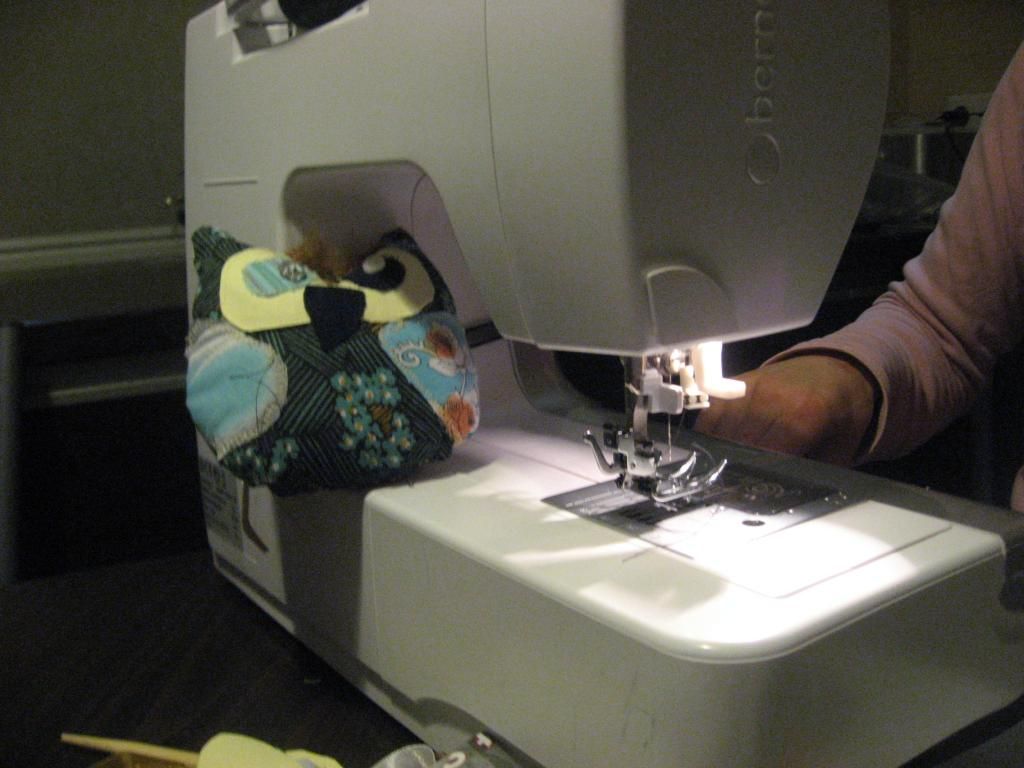
Put the right sides together of the body parts front and back sew together very well go over twice :)
Place the little fur between the body parts:


Leave a small part unsewn for the tuning inside out, and stuff your owl well :)
Sew the remaining gap with invisible seam ;)
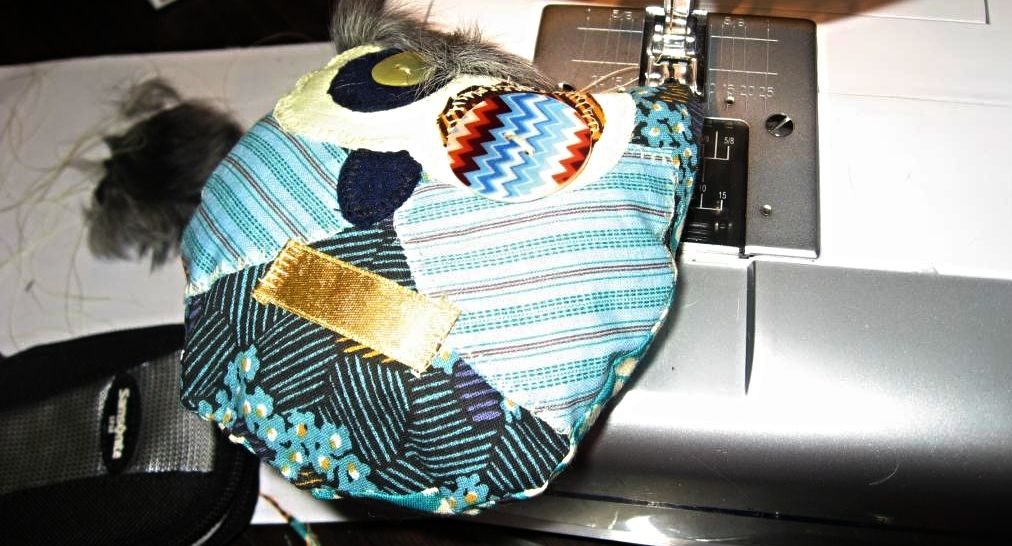
The result is something like this and you might use your pincushion tied around your sewing machine.
So have a nice time sewing your pincushion ;)
Gutukas (All in Beads)
Fabulous little owl pincushions!!!
ReplyDeleteThanks Pam, a lot ;) I am glad you visited me ;)
ReplyDelete